How can we help?
Drupal — Chat Code Installation
The online chat widget can be installed on a website running the Drupal content management system in two ways. Let’s take a closer look at each method.
Method 1. Installing the Code via a New Block
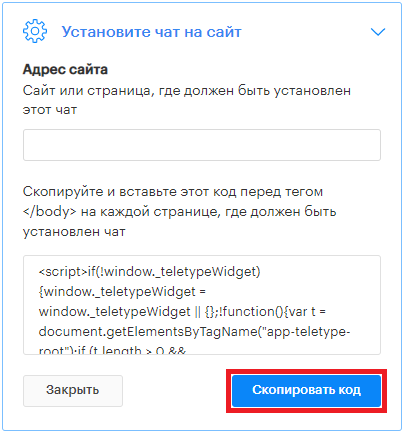
1. Copy the widget code from the Online Chat settings.
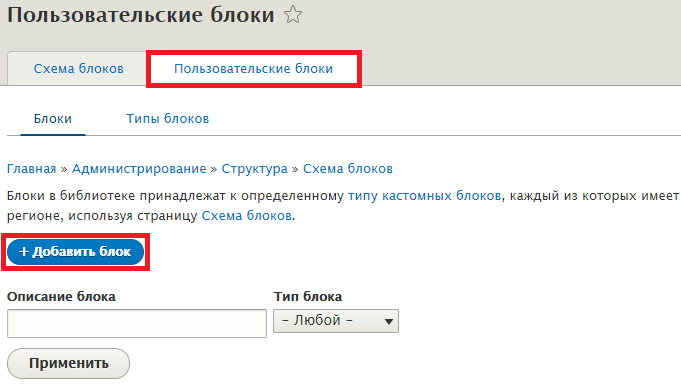
2. Log in to your website’s admin panel. At the top, click on the “Structure” tab. Select the “Block Layout” section.

3. Select the “Custom Block Library” tab. Click “Add Custom Block.”
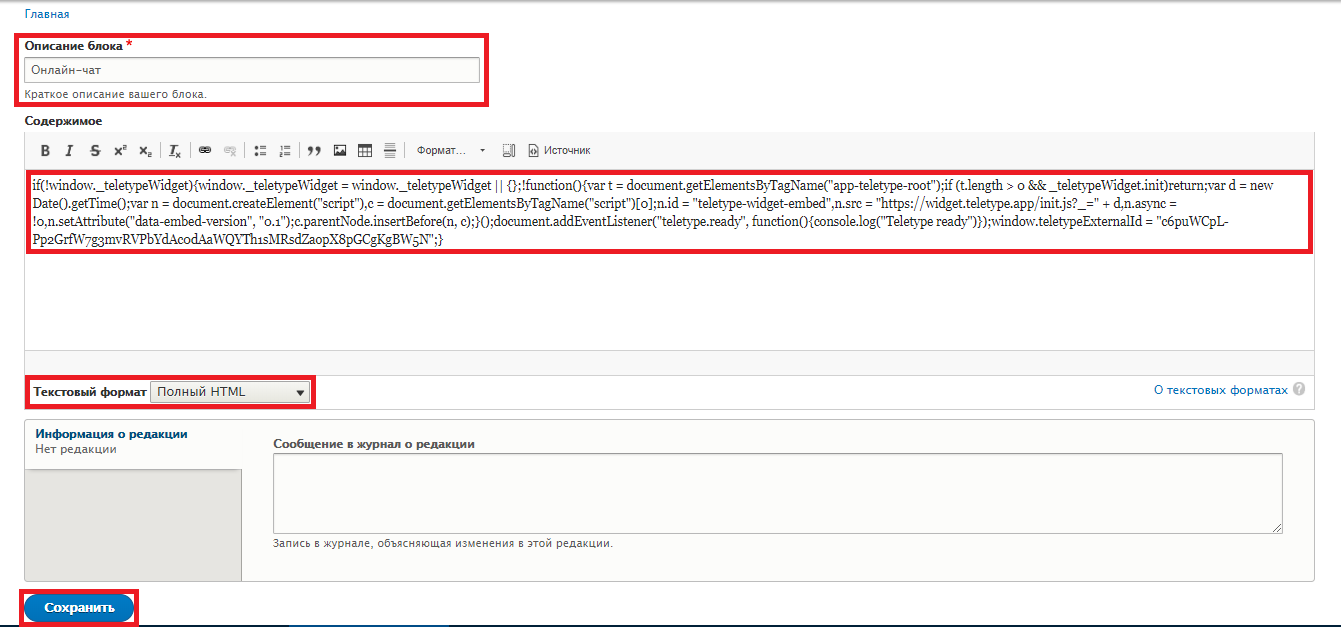
4. Enter the following details:
— Block description: Online Chat;
— Block content: paste the Online Chat widget code.
— Text format: Full HTML
Leave the other fields as they are. Click the “Save” button.
5. Return to the “Block Layout” tab. Place the block in the site header:
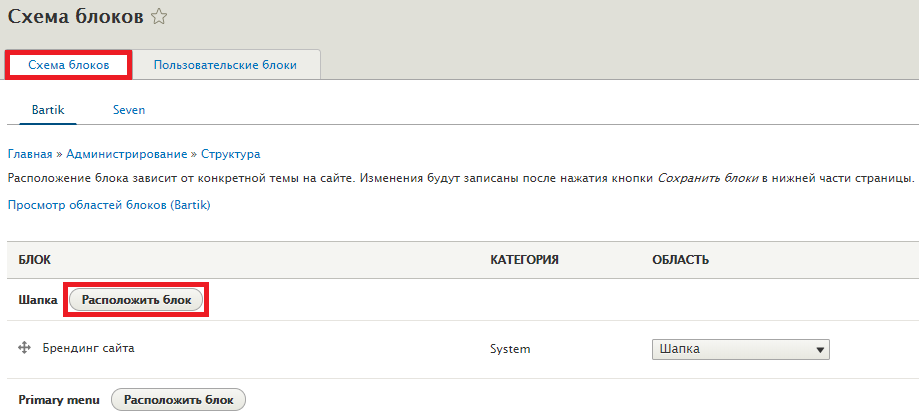
6. Find the Online Chat block in the list and click “Place block.” Then click the “Save block” button.

7. As a result, the block will appear in the “Header” section block layout. Click the “Save blocks” button at the bottom of the page to save your changes.


Method 2. Installation via FTP
1. Copy the widget code from the Online Chat settings.
2. To install Online Chat on Drupal, use FTP. Access your hosting directly or connect via an FTP client. Edit the file “html.tpl.php” located at: YourSite/modules/system/html.tpl.php.
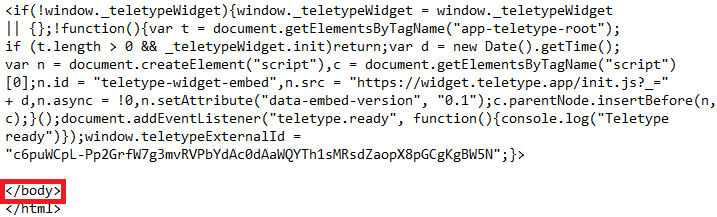
3. Paste the Online Chat widget code before the </body> tag. Save the changes.
Note: If you are using Drupal 6, insert the widget code into the page.tpl.php file. This file is located in the folder of the active theme. Be careful: the page.tpl.php file can also be found in other folders.