How can we help?
VKontakte Personal Account
Adding a VKontakte Personal Account Channel in Teletype
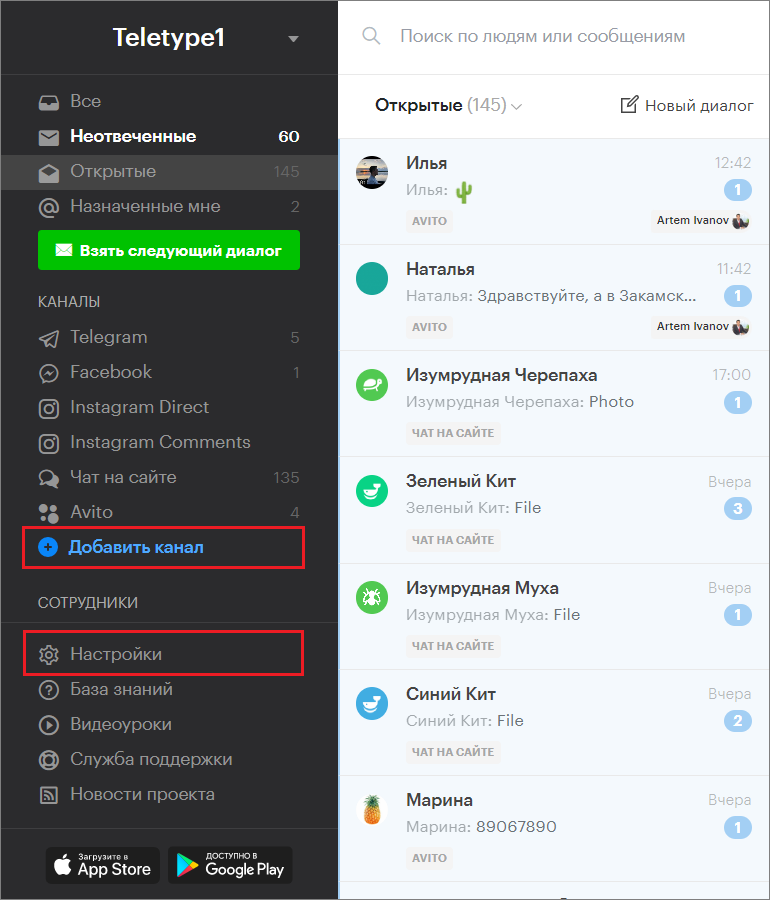
1. Go to the “Add Channel” section in the left menu of the Teletype panel or in the project settings.
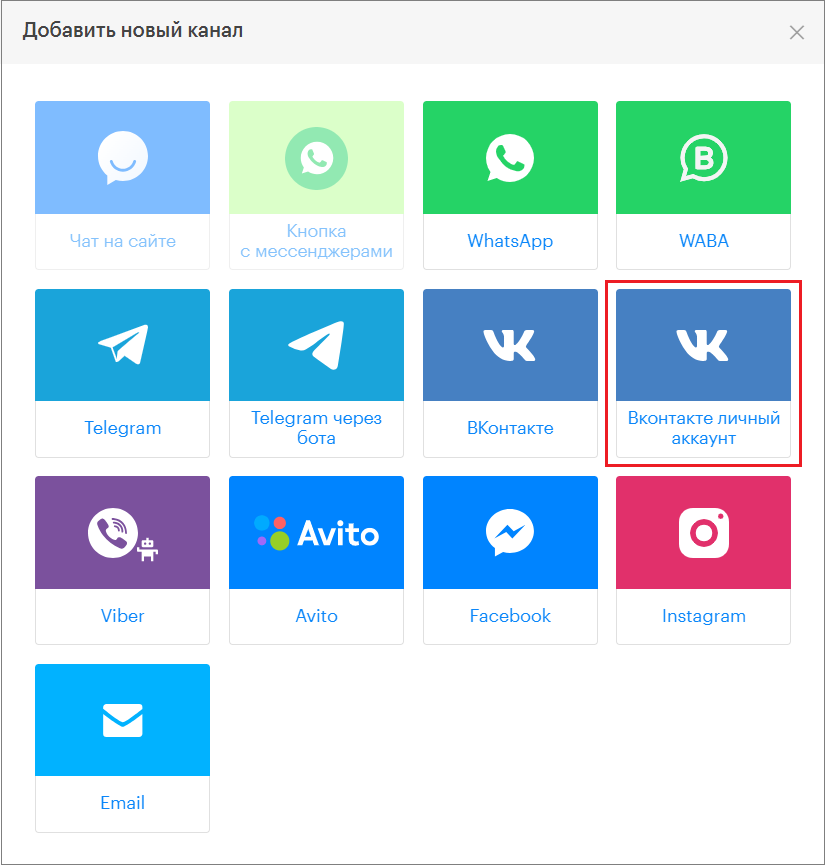
2. In the window that appears, select the “VKontakte Personal Account” block.
3. Click “Add VKontakte Personal Account to Plan.”
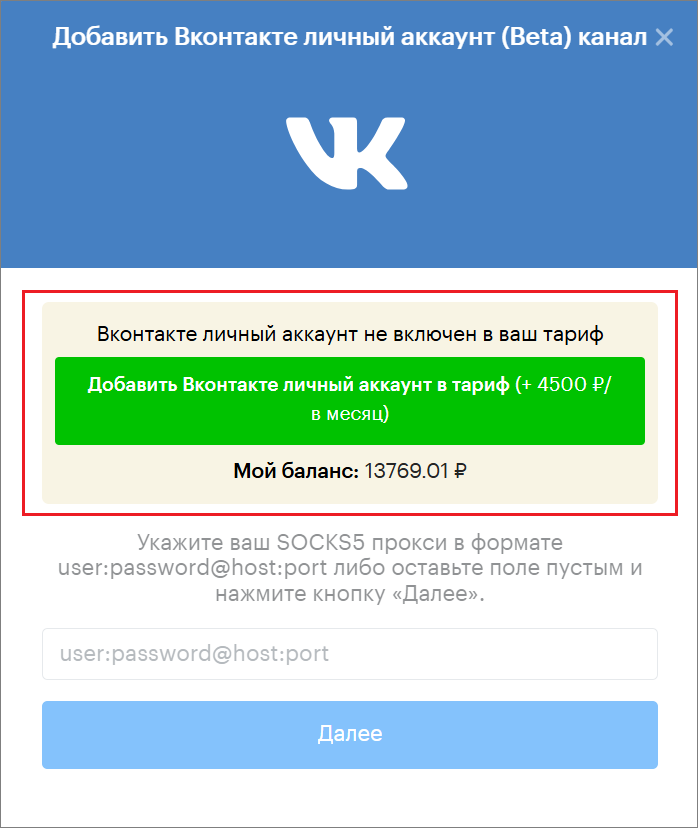
Connecting a VKontakte Personal Account Channel Without a Proxy
- Click “Next.”
Leave the proxy field empty.

2. Review the terms of using VK Direct without a proxy and check the box “I have read the warning and understand that without a proxy, the VK Direct channel may operate unstably.”

3. Click “Continue Without Proxy.”

4. A QR code will be generated for scanning in the panel.

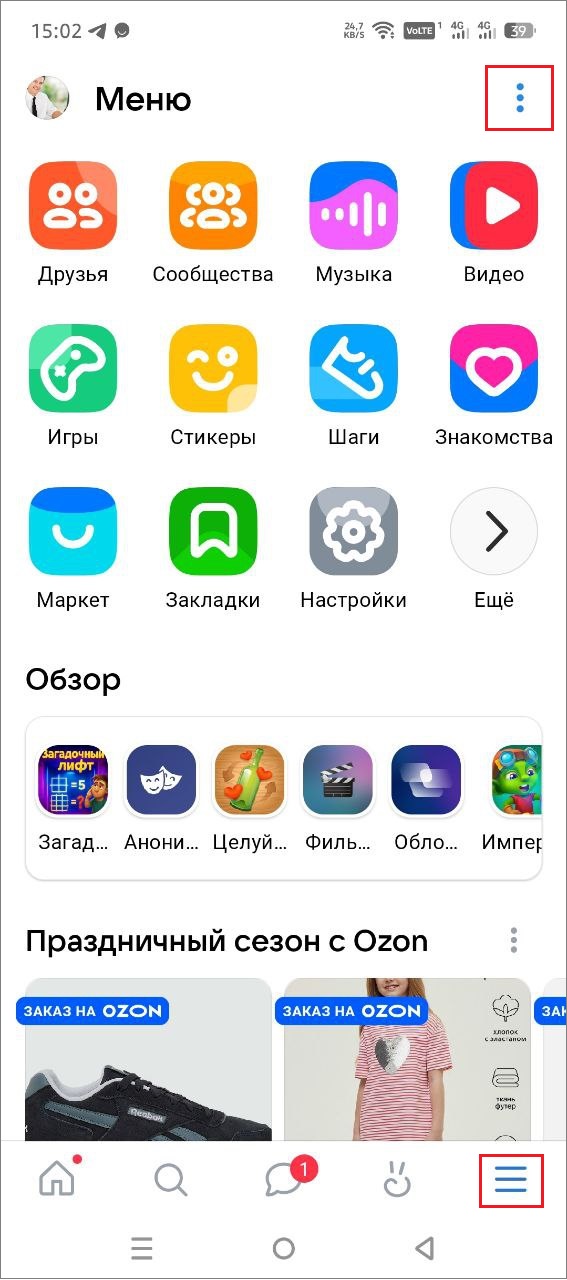
5. Open the VK app on your mobile device.
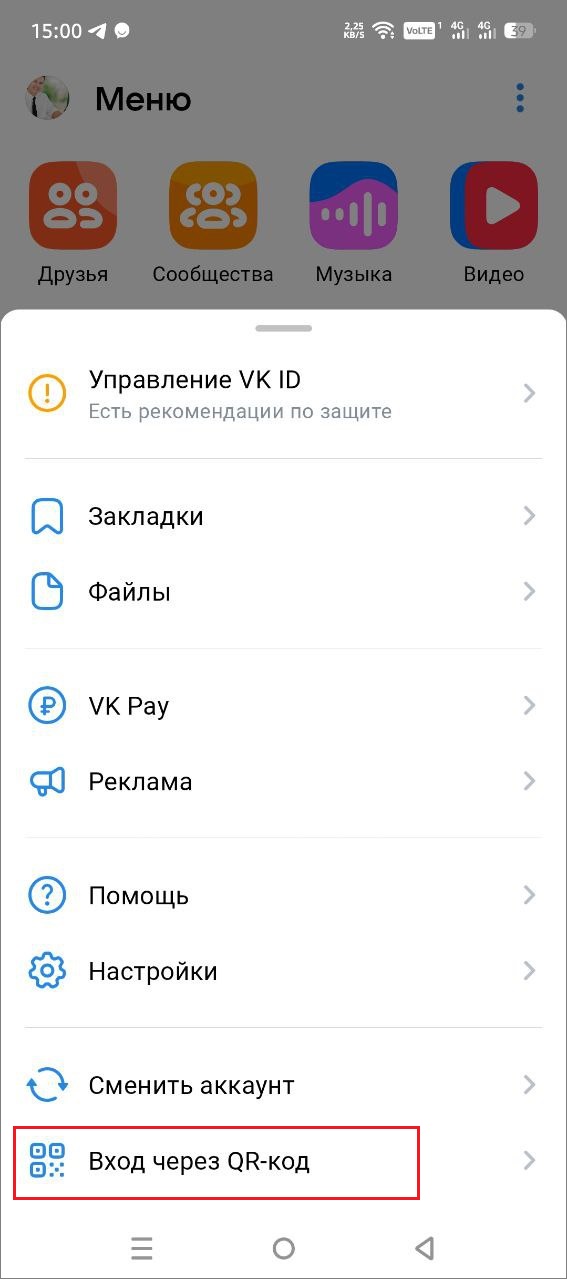
6. Go to the VK app menu.

7. Tap “Login via QR Code.”
8. Point the VK app camera on your phone at the QR code and wait for the successful scan notification.
9. Tap “Log in on New Device.”

10. If necessary, rename the channel and click “Save.”

Connecting a VKontakte Personal Account Channel via Proxy
1. In the window that opens, enter your SOCKS5 proxy for connection. The SOCKS5 proxy must be in the format “user:password@host:port.”
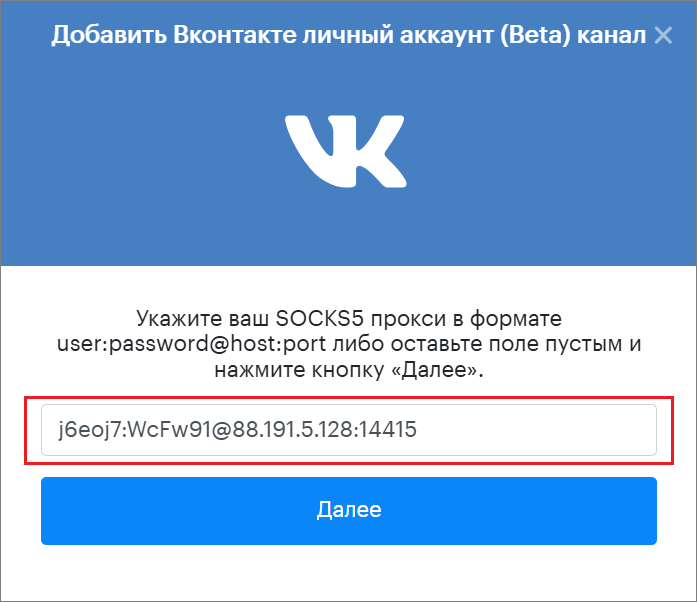
2. Click “Next.”

3. A QR code will be generated for scanning in the panel.

4. Open the VK app on your mobile device.
5. Go to the VK app menu.
6. Tap “Login via QR Code.”

7. Point the VK app camera on your phone at the QR code and wait for the successful scan notification.
8. Tap “Log in on New Device.”

9. If necessary, rename the channel and click “Save.”

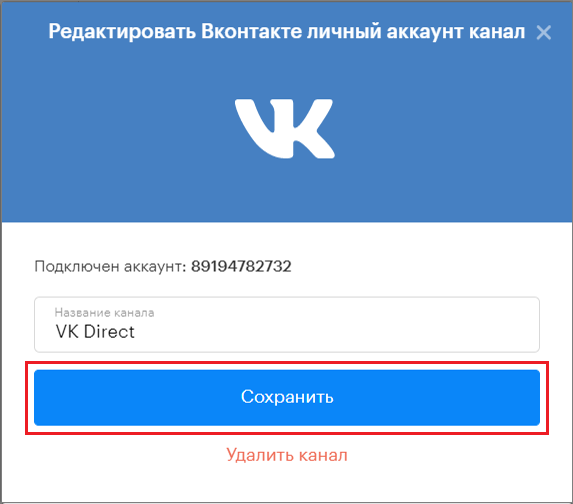
Editing the Channel Name
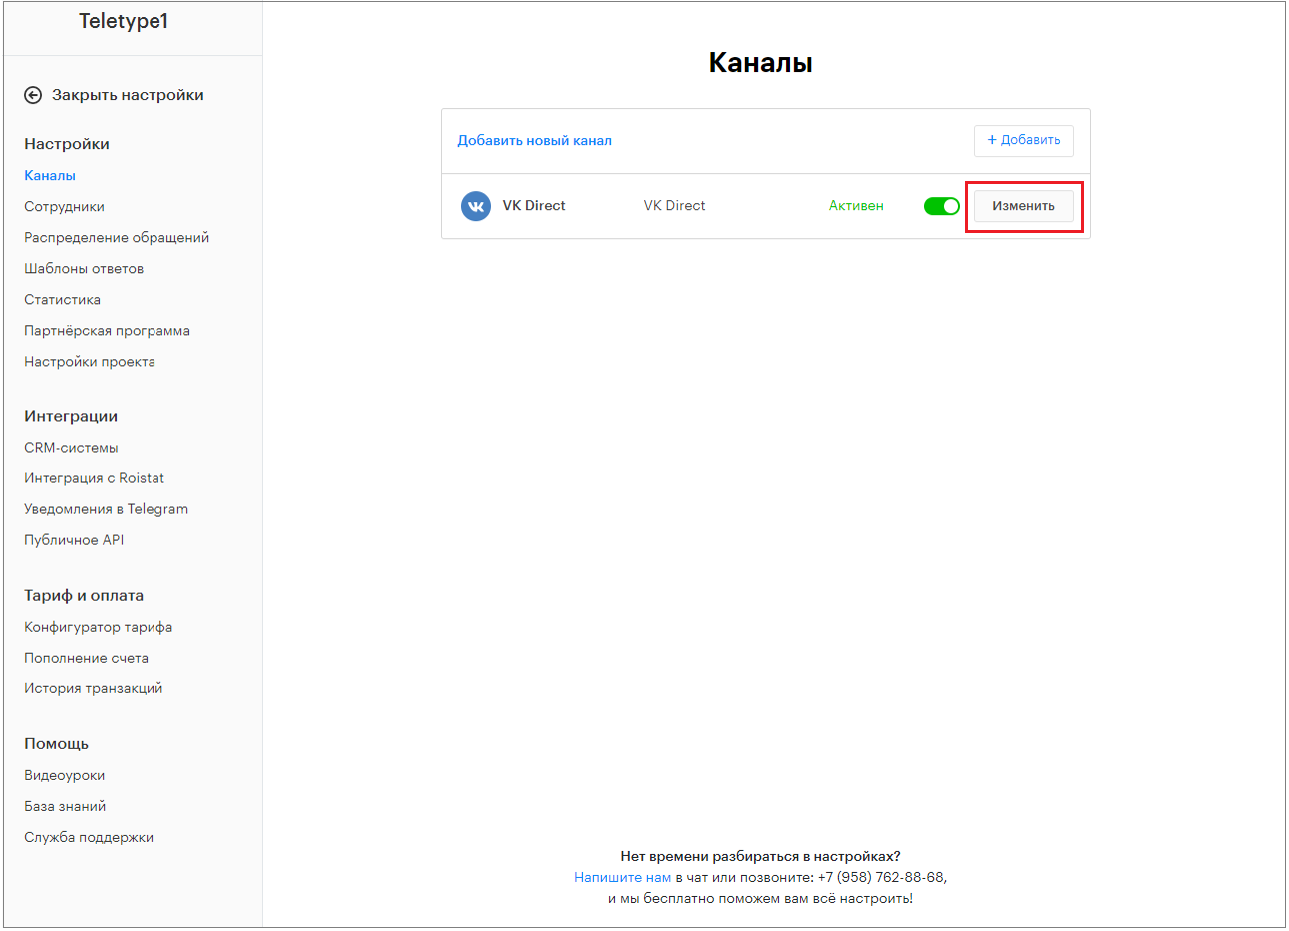
- The connected VK personal account will appear in the Channels section.
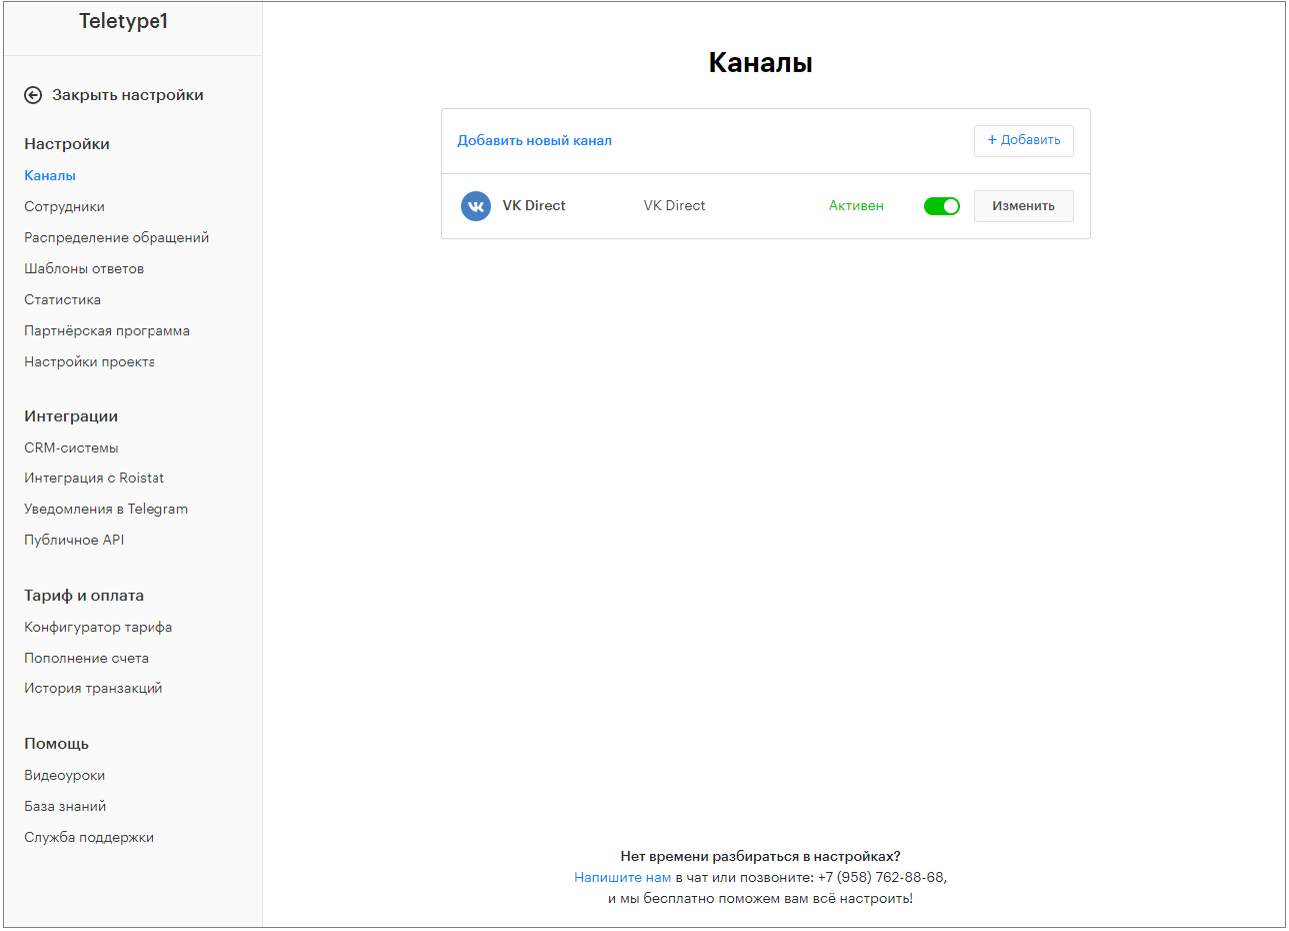
2. To change the channel name, go to the “Channels” section and click “Edit” next to VK Direct.
3. In the edit window, change the channel name.

4. Click “Save.”