How can we help?
Request Notifications
Each operator can personally configure sound notifications for incoming requests in their Teletype personal account, taking into account the time of day and communication channels.
To do this:
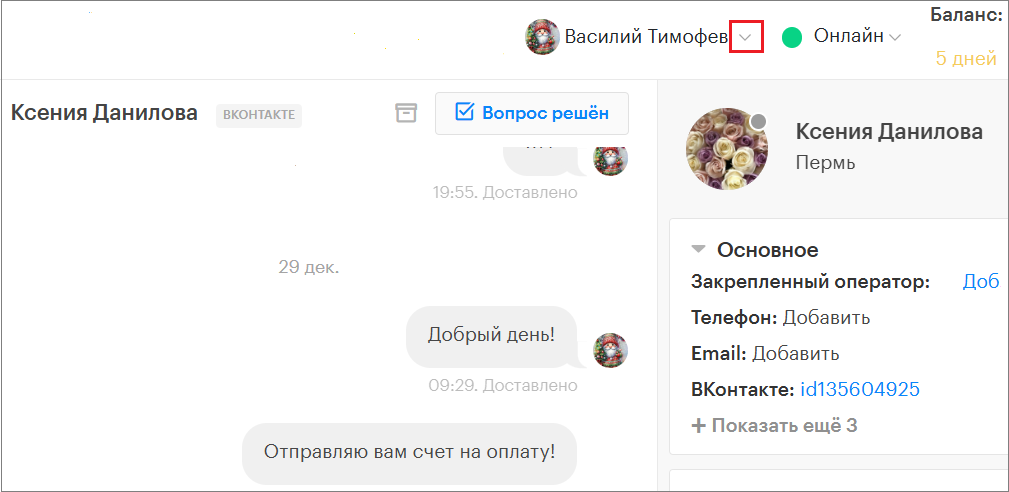
- In the top menu of the Teletype panel, click the arrow located to the right of the profile name.
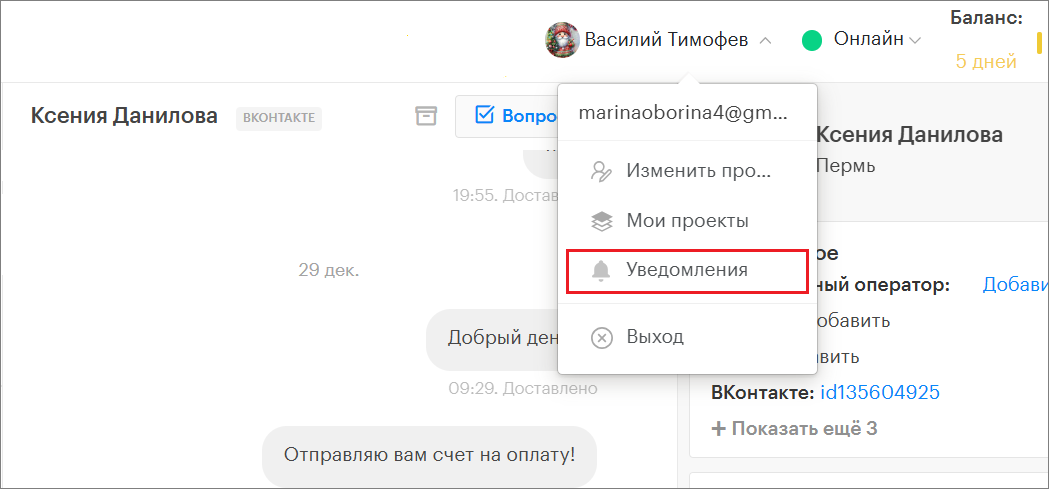
2. Select “Notifications”.
3. On the opened page, configure sound notifications by categories, time of day, and communication channels.
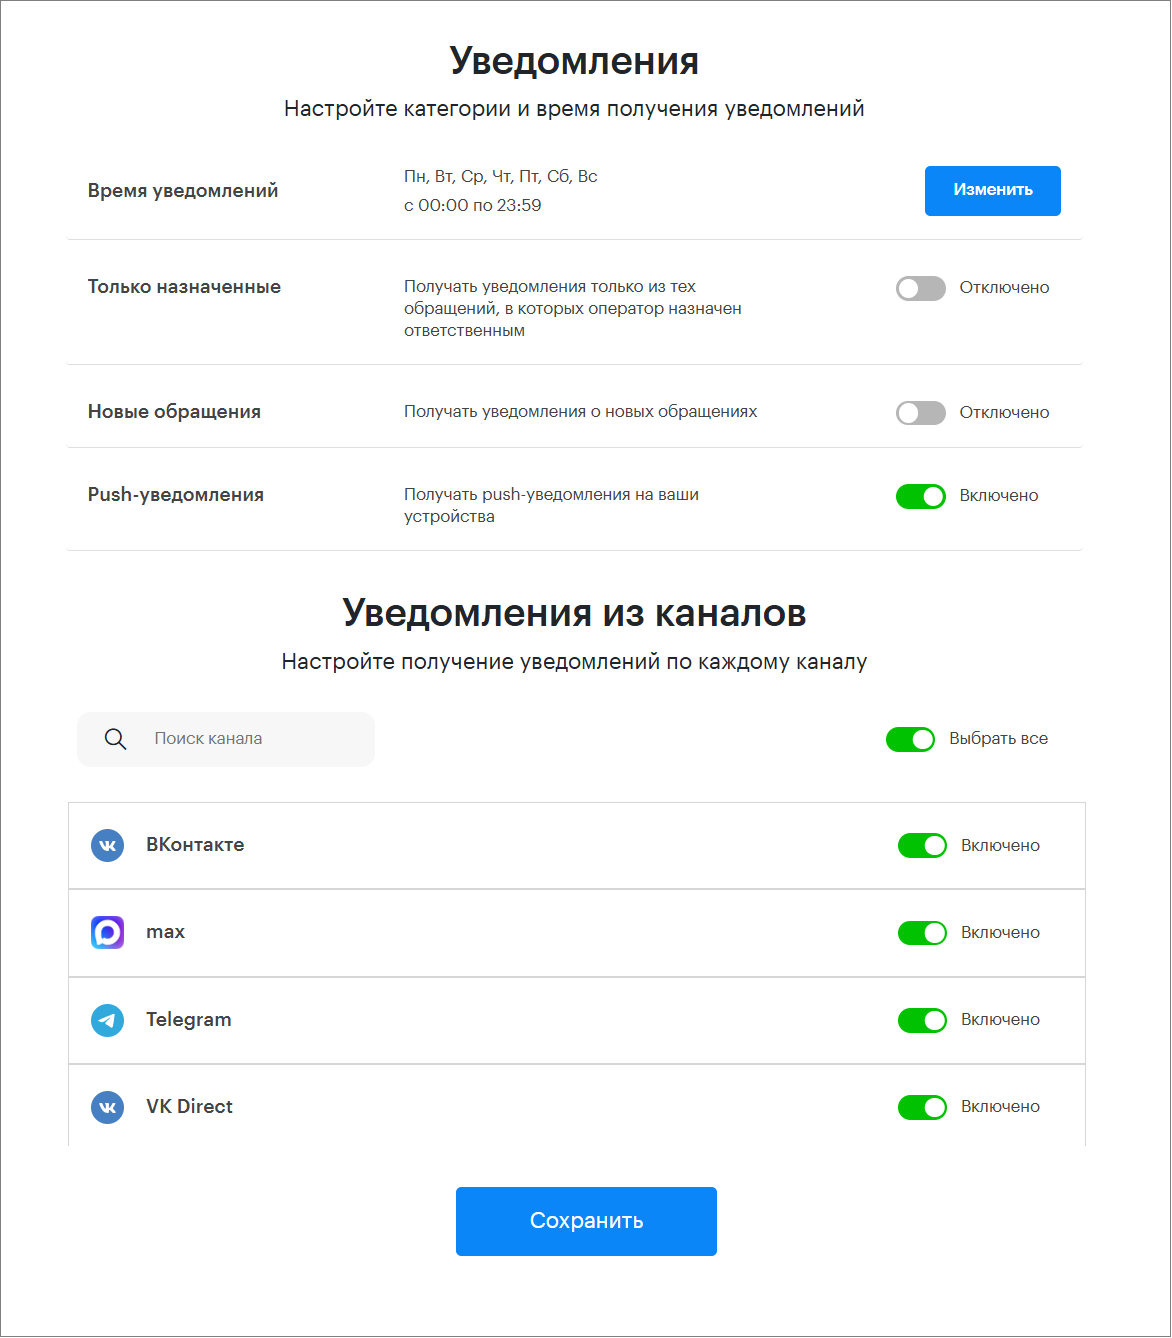
Configuring Notifications by Time and Categories
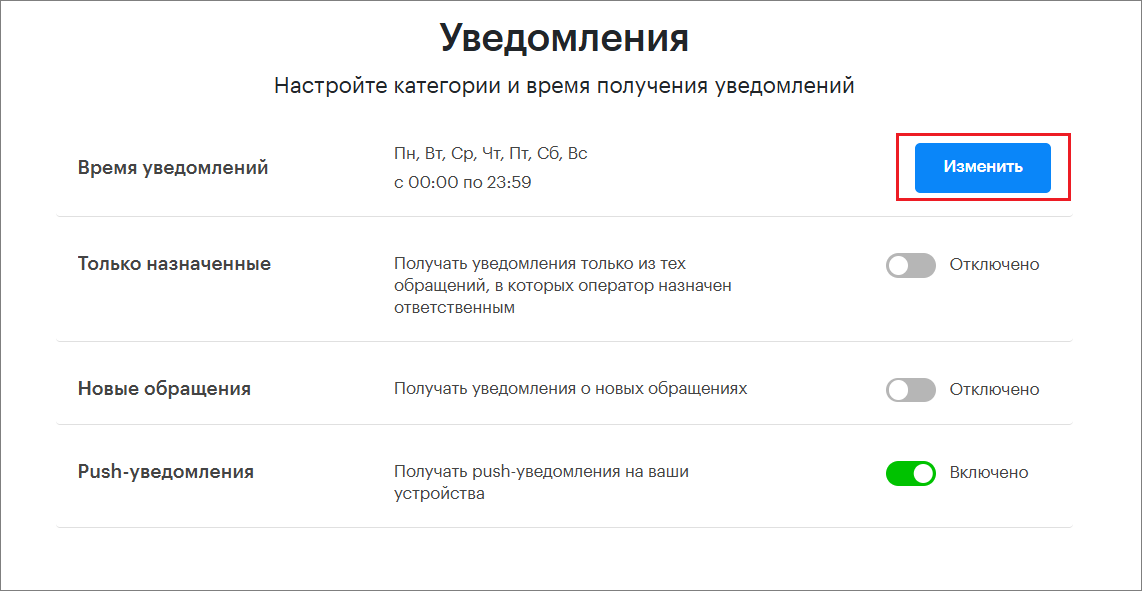
Notification Time
To set the active time for sound notifications, you need to:
- Click the “Edit” button.
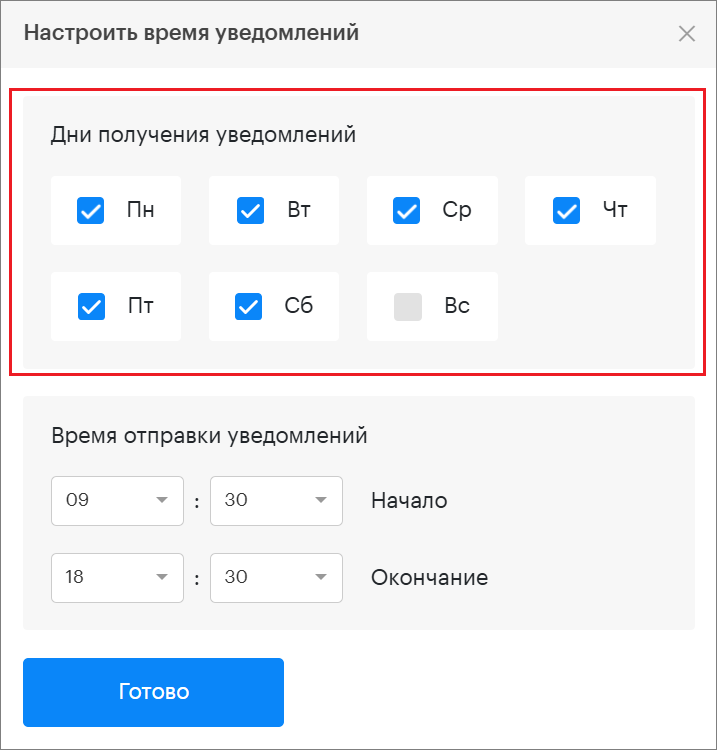
2. In the opened window, select the days of the week.
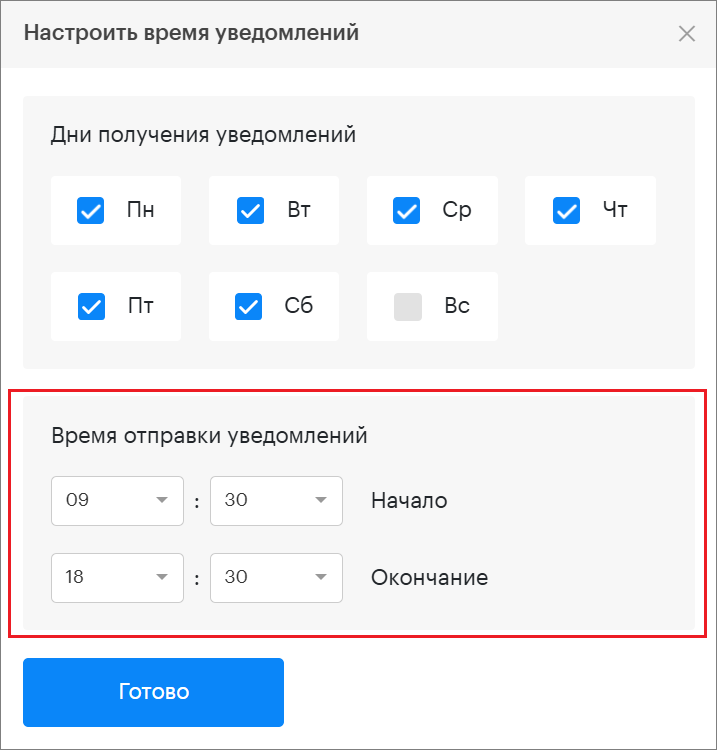
3. Select the time interval during which sound notifications will be sent.
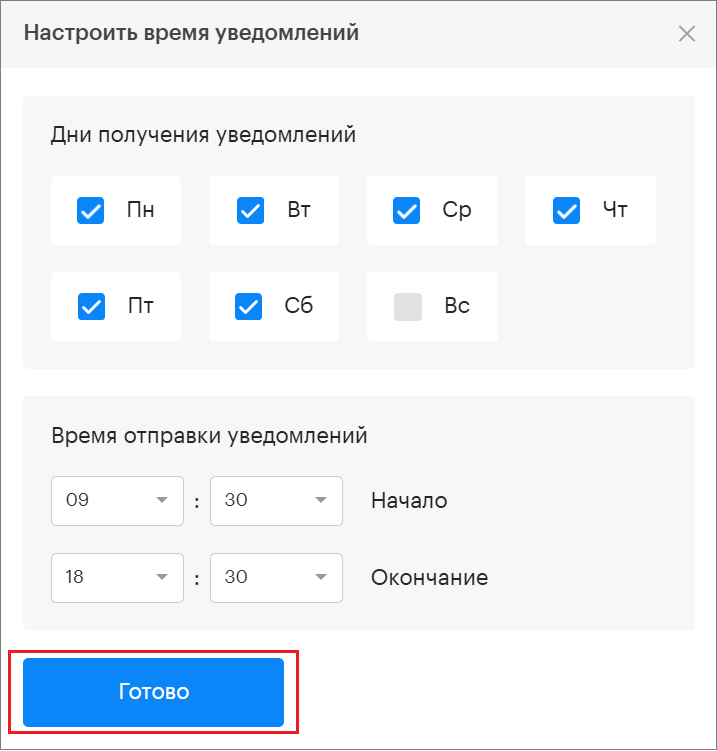
4. Click “Done”.
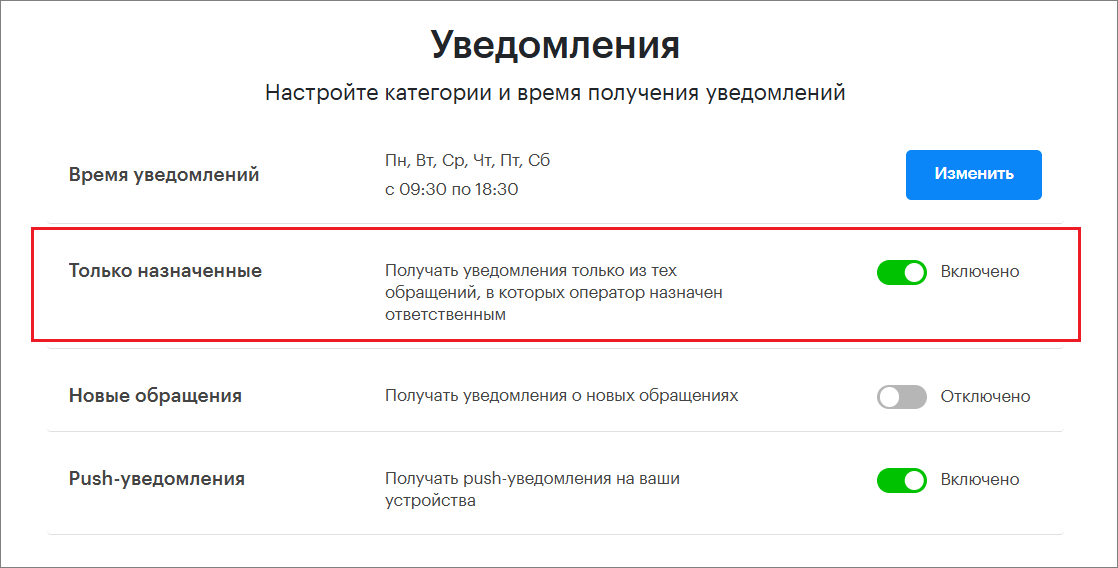
Only Assigned
This setting allows you to receive sound notifications only for requests where the operator is assigned as responsible.
In this case, a sound notification will be triggered with every new message in the request.
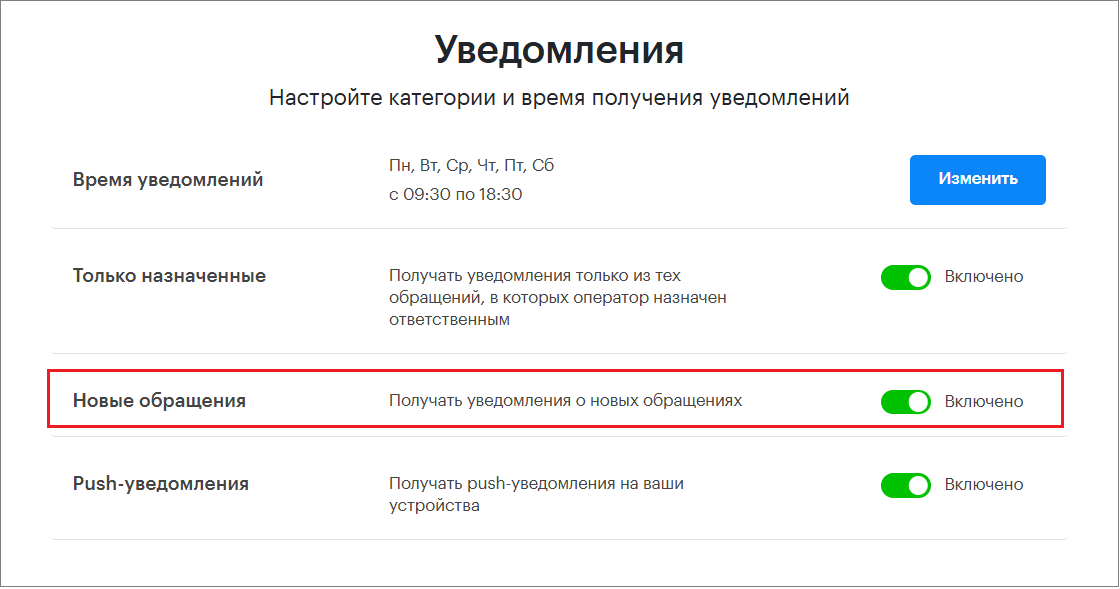
New Requests
This setting allows you to receive sound notifications only for new requests.
A sound notification will occur only when a new request appears. There will be no sound notifications for new messages within the request.
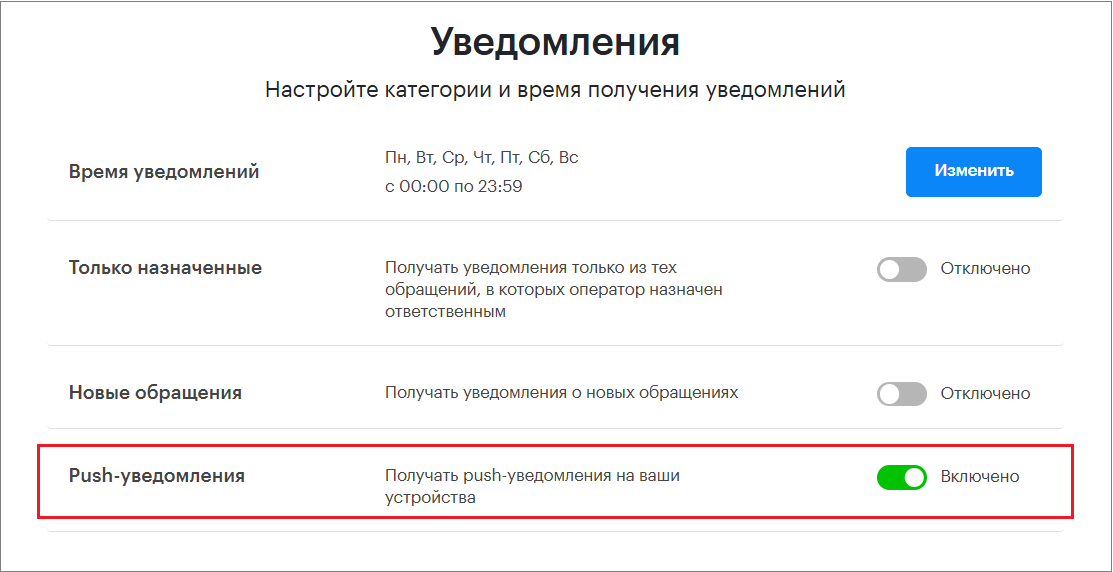
Push Notifications
Receive push notifications on your devices.
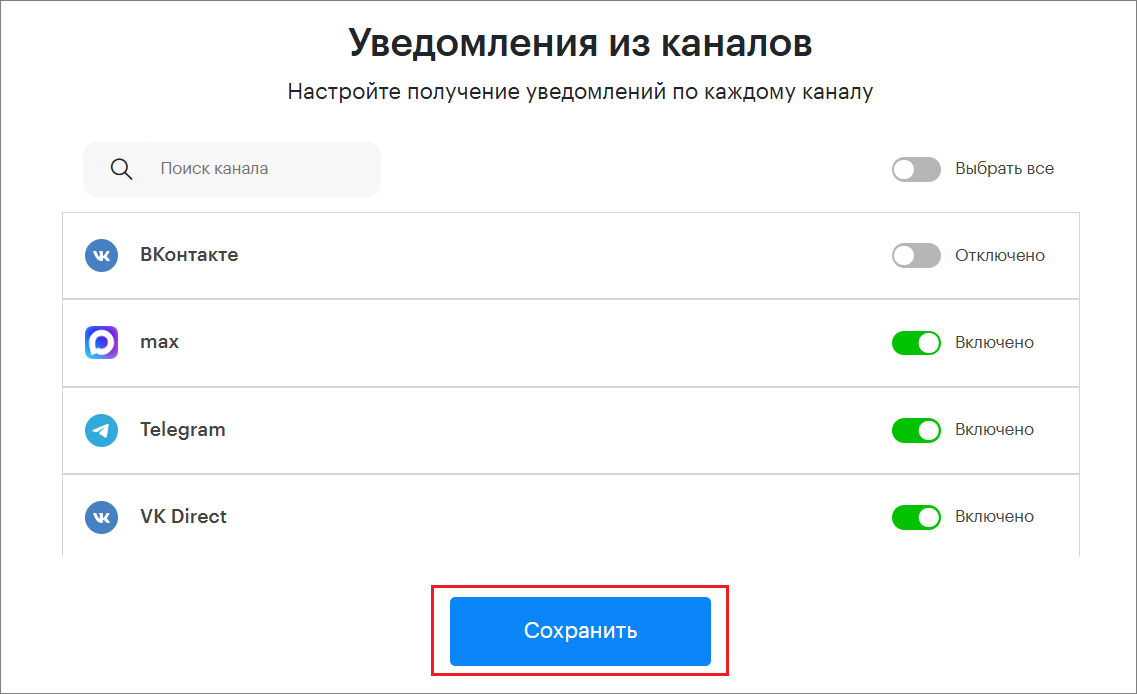
Configuring Notifications by Communication Channels
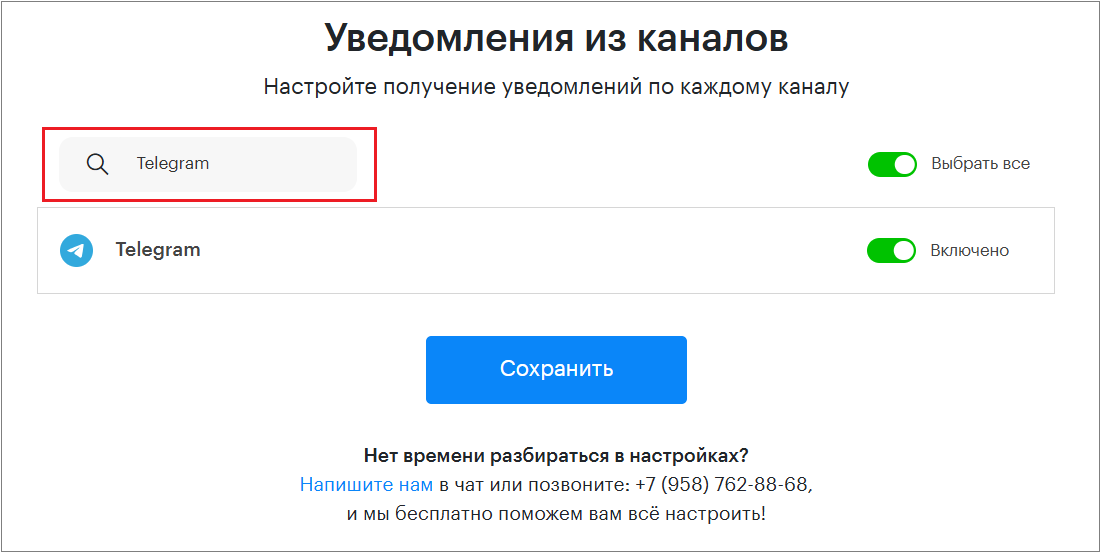
- Here you can configure sound notifications for each channel separately.
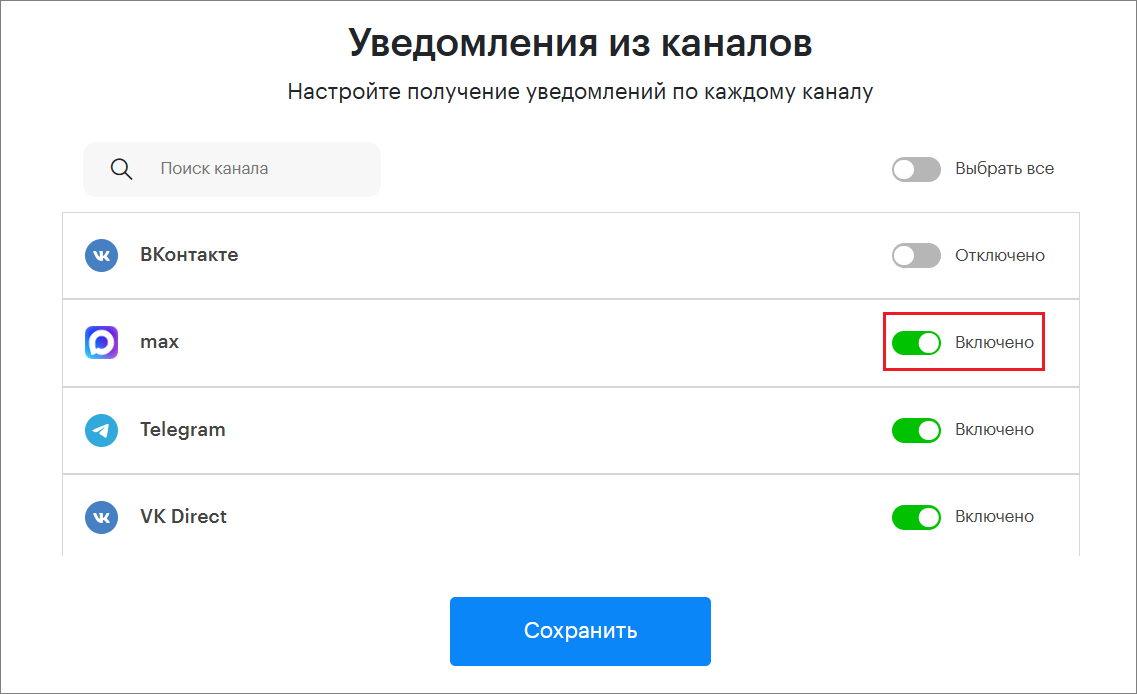
You can also find the desired channels using the search. To do this, enter the channel name in the search bar.
2. Or configure sound notifications for all channels.
To do this, activate “Select All”.
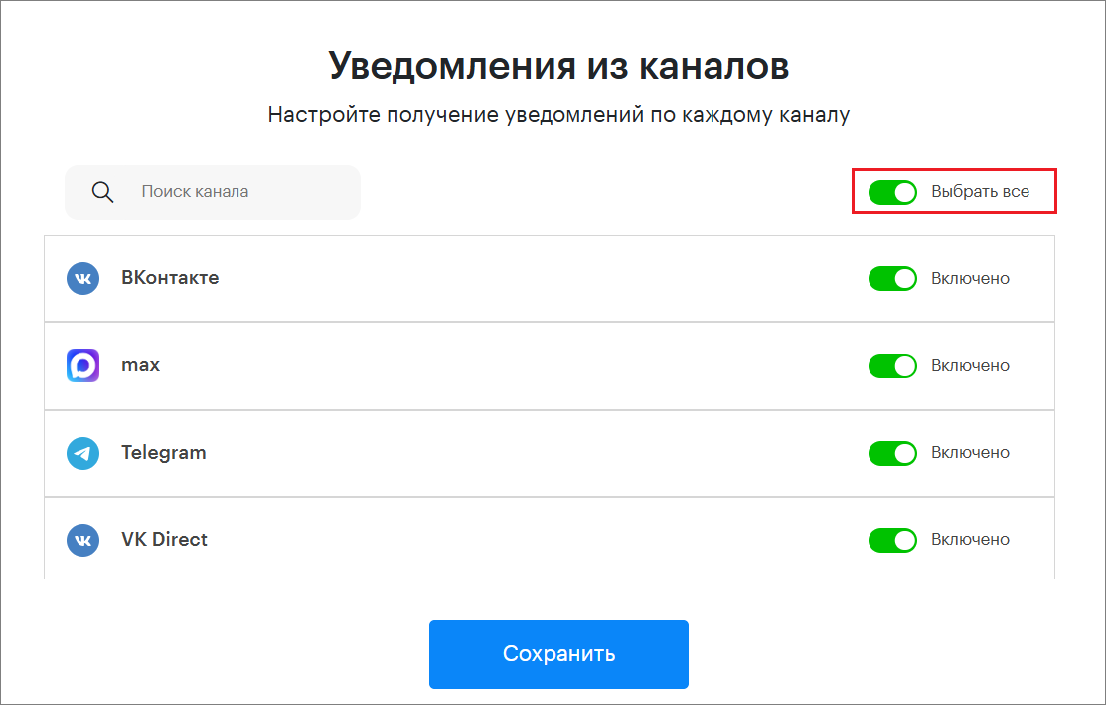
3. After completing the settings, click the “Save” button.