How can we help?
Online Chat for Website
Connection
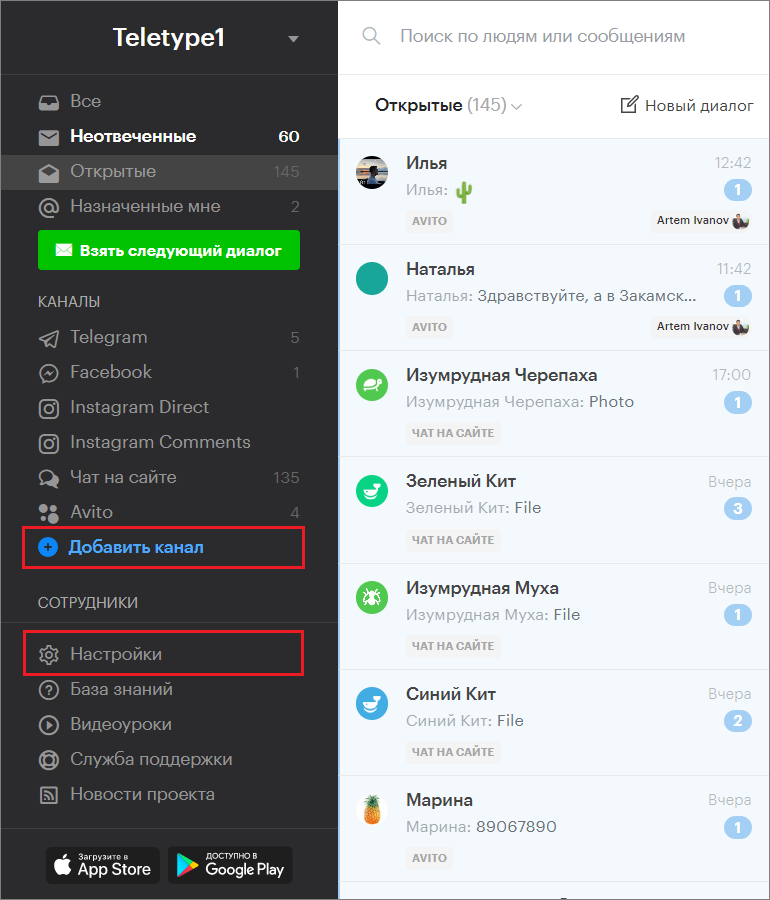
- Go to the “Add Channel” section in the left menu of the Teletype panel or in the project settings.
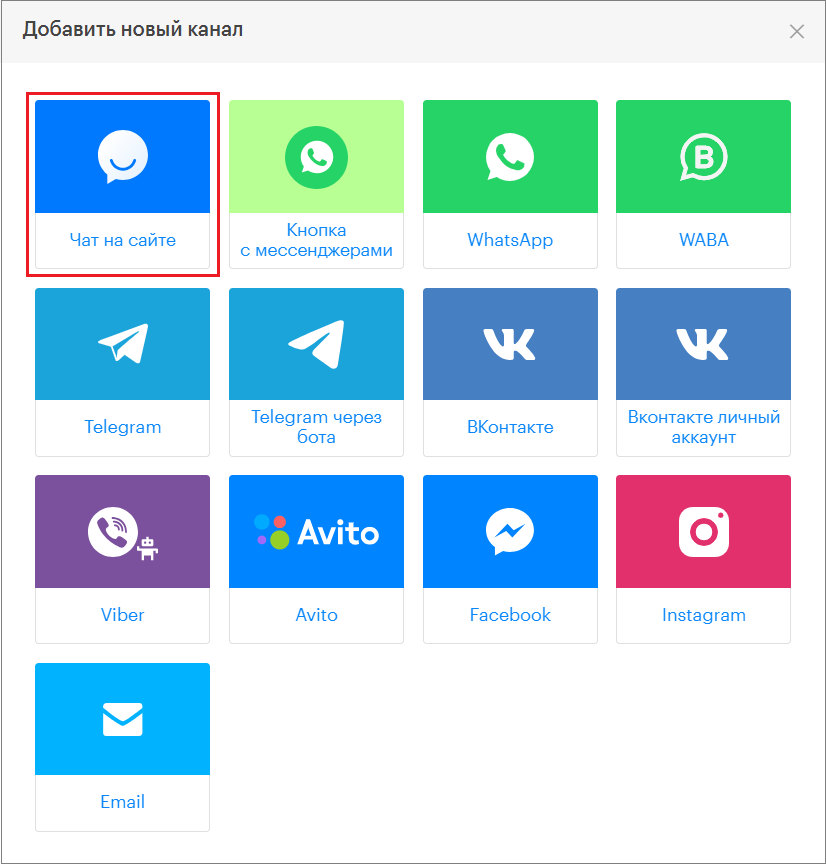
2. In the pop-up window, select the “Chat on the website” block.
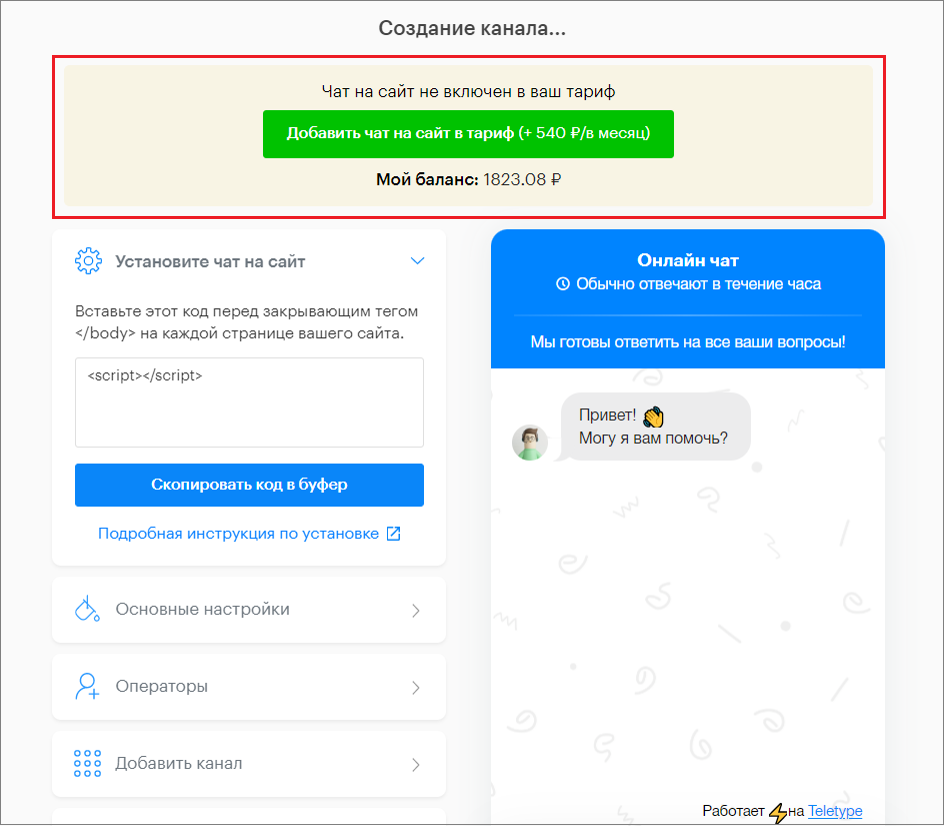
3. Click “Add chat on the website to the plan”.
Fill out the chat settings form. All changes will be displayed in the widget preview on the right side of the window.
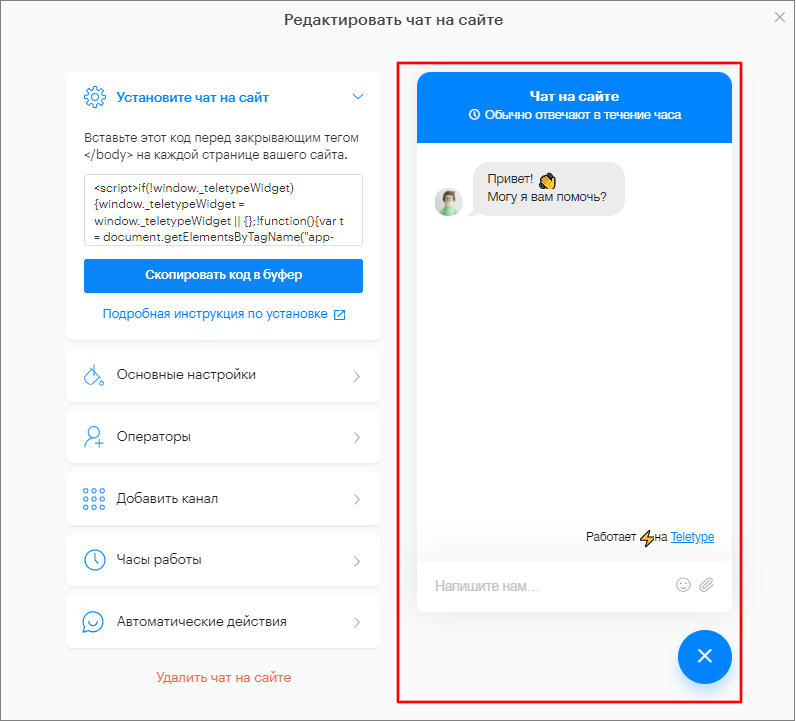
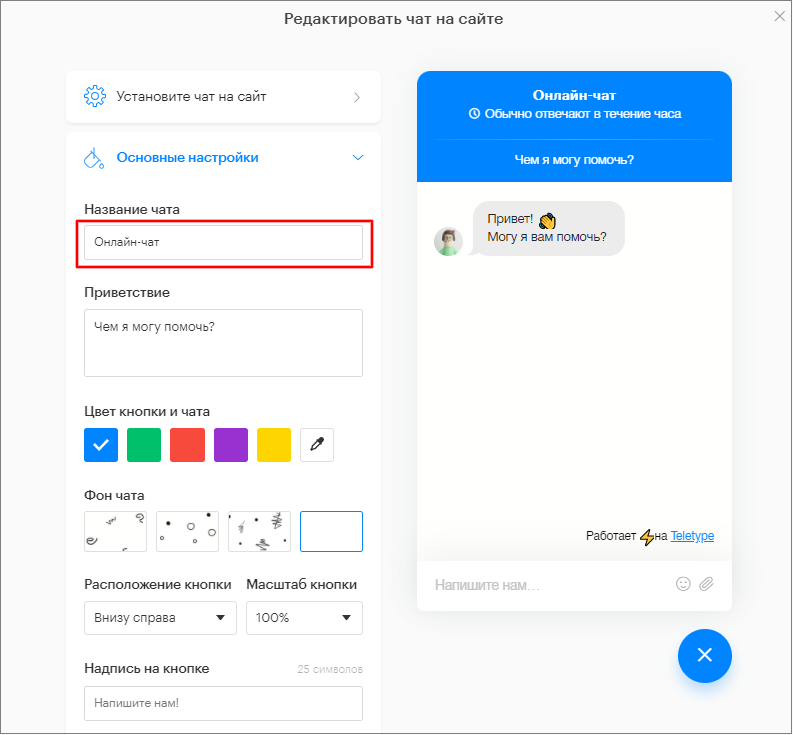
“General Settings” Section
- Enter the name of the online chat.
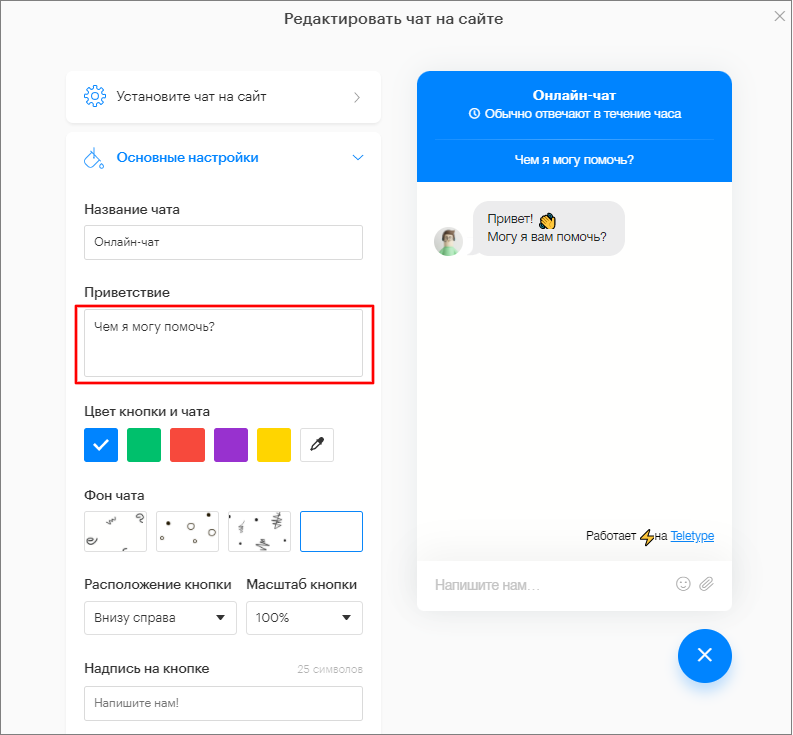
2. Add a greeting message.
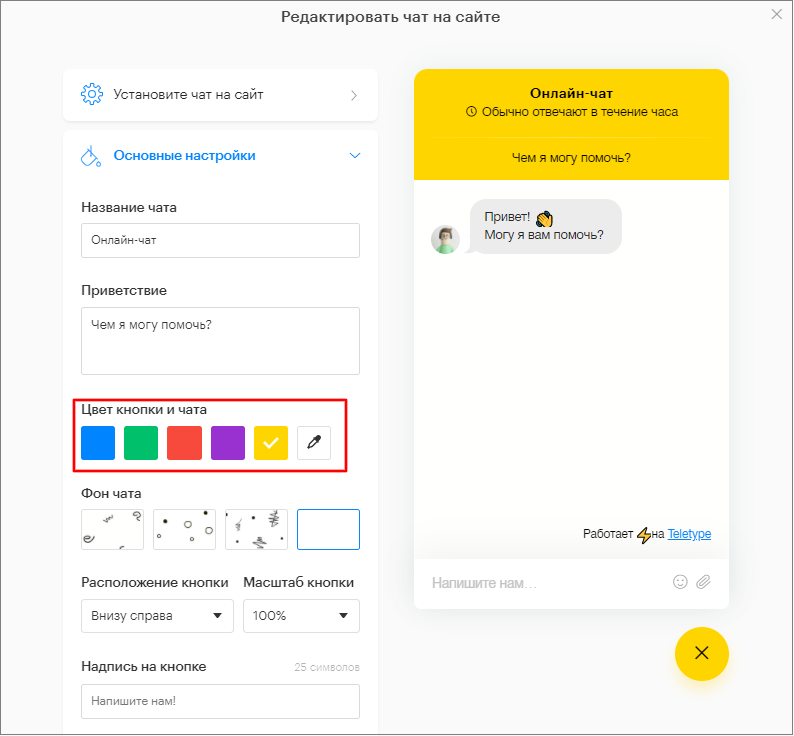
4. Set the color of the online chat button.
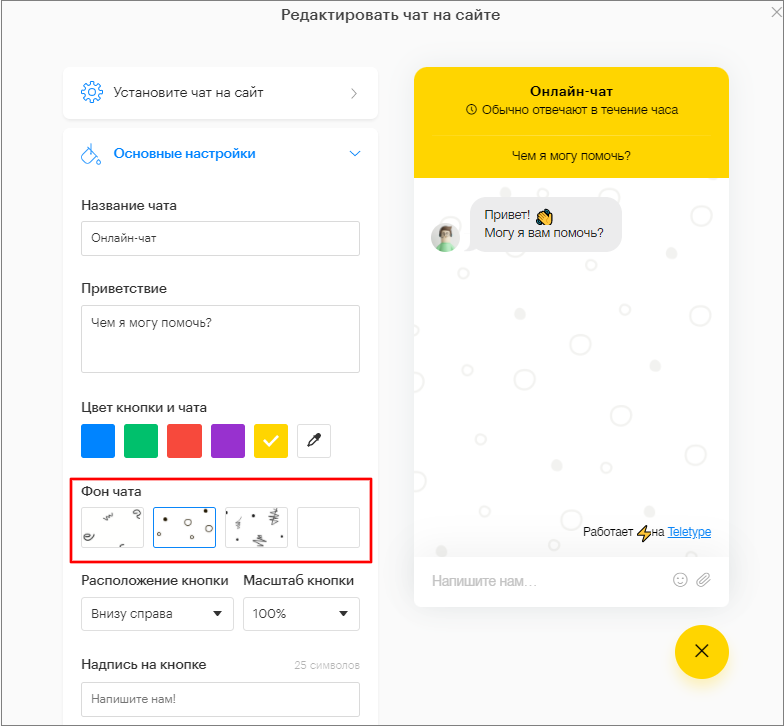
5. Set the chat background.
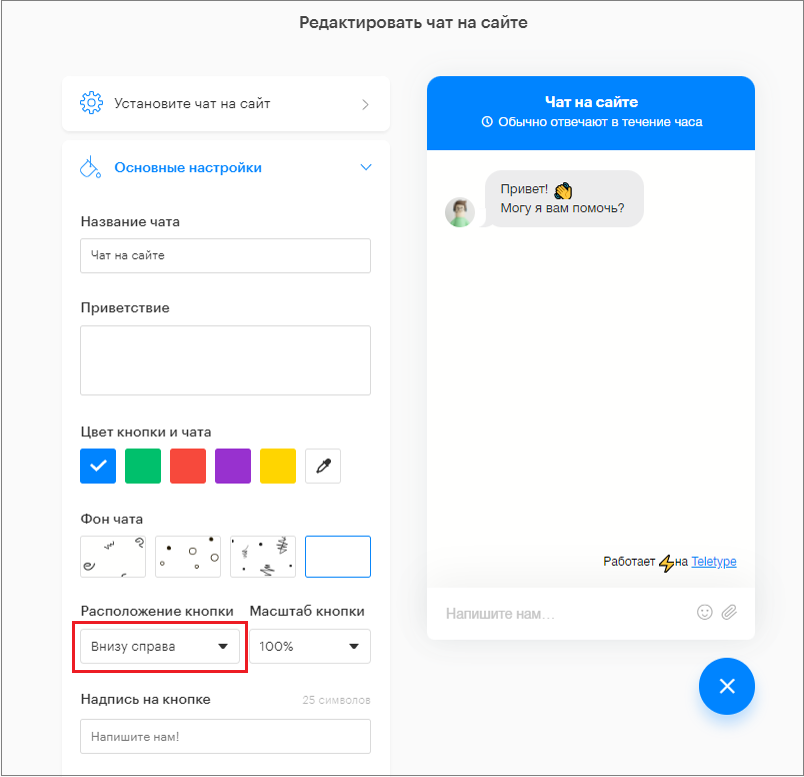
6. Set the button position.
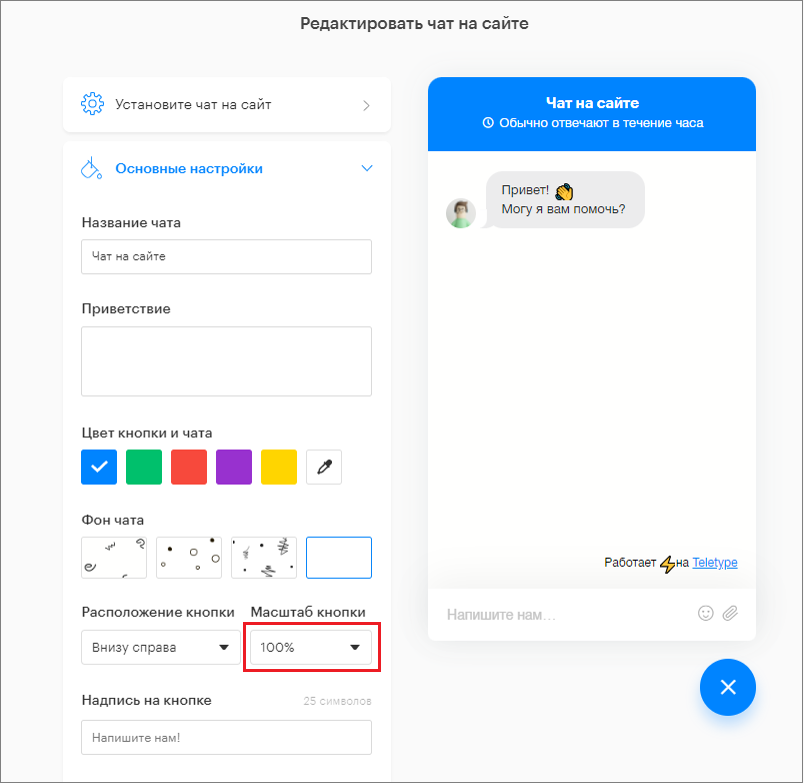
7. Set the button size.
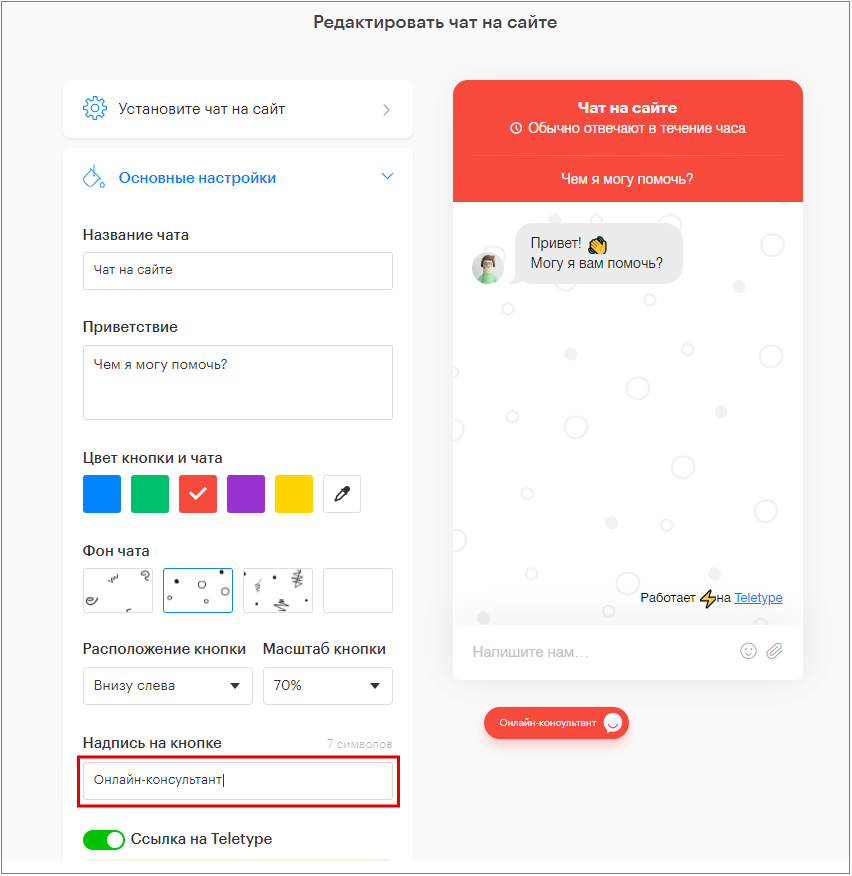
8. Add text on the button (if needed).
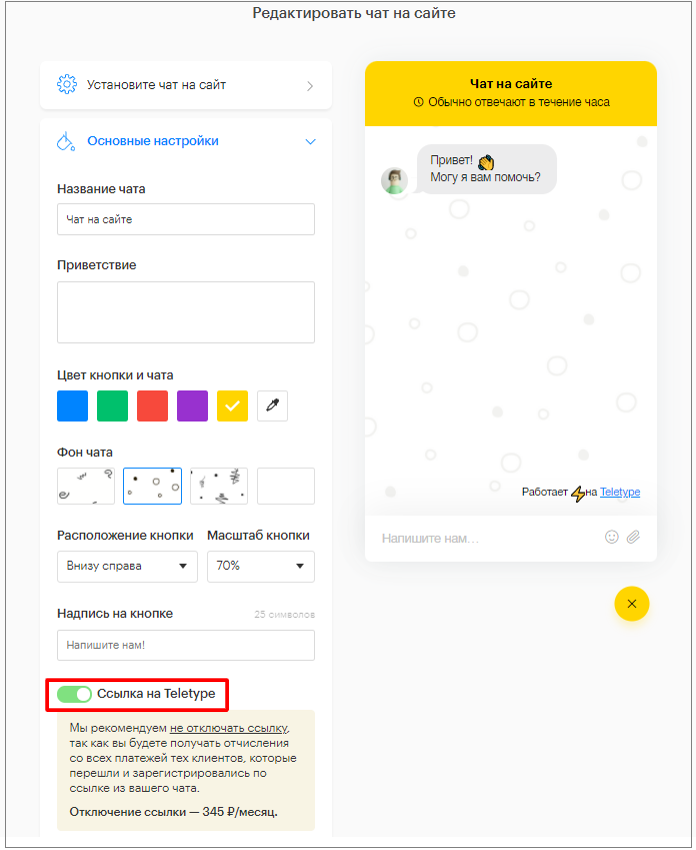
9. By default, the widget includes a link to Teletype. If necessary, you can hide the link. Learn more about disabling the link.
10. Configure message sound playback (enable or disable sound).
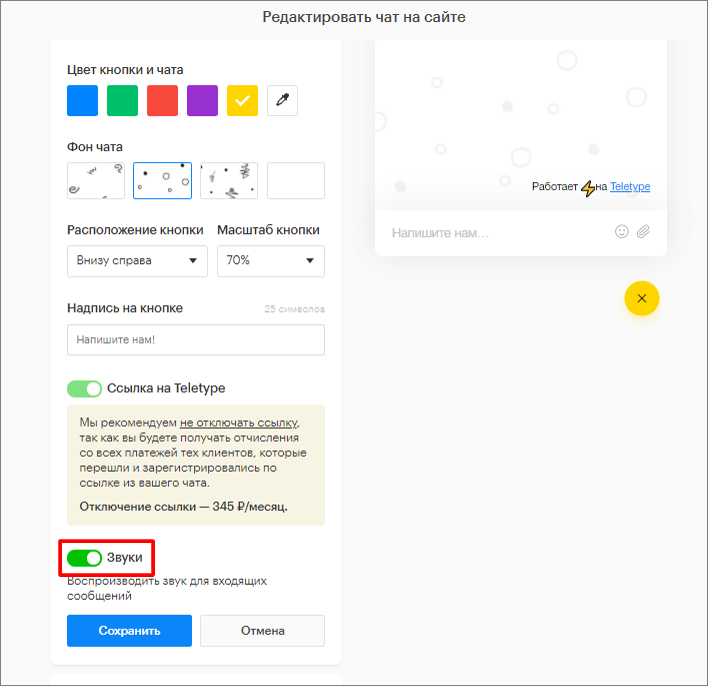
11. Click “Save”.
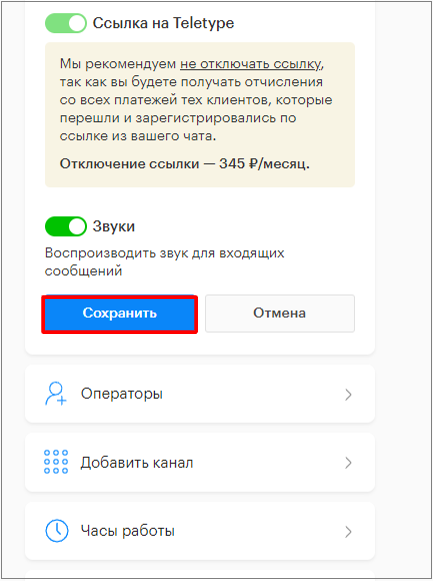
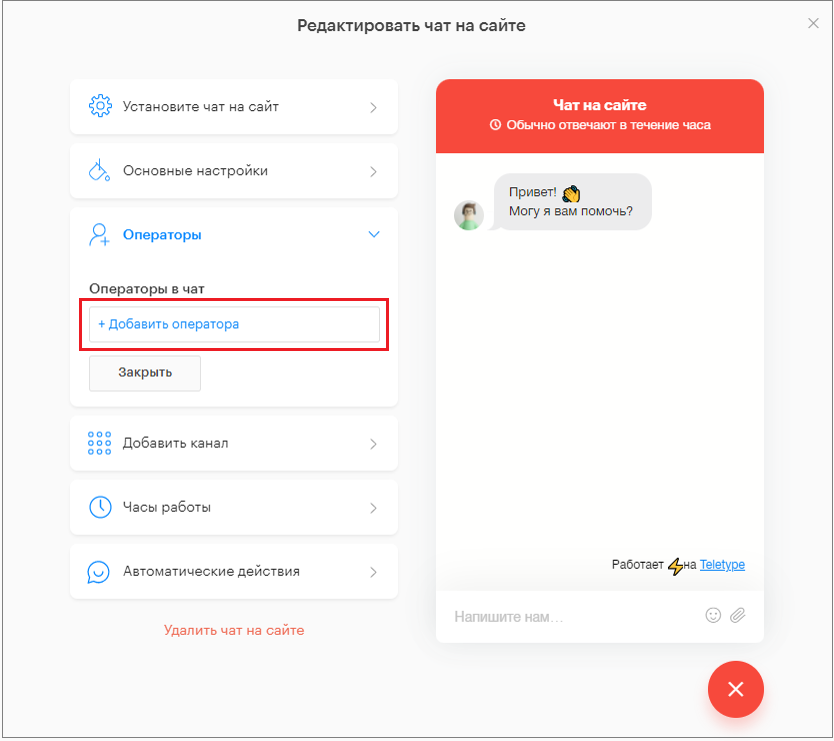
“Operators” Section
Only operators who have joined the project can be added to the online chat.
By default, all operators connected to the Teletype account can work with the chat.
- Click “Add operator”.
2. Select operators from the list.
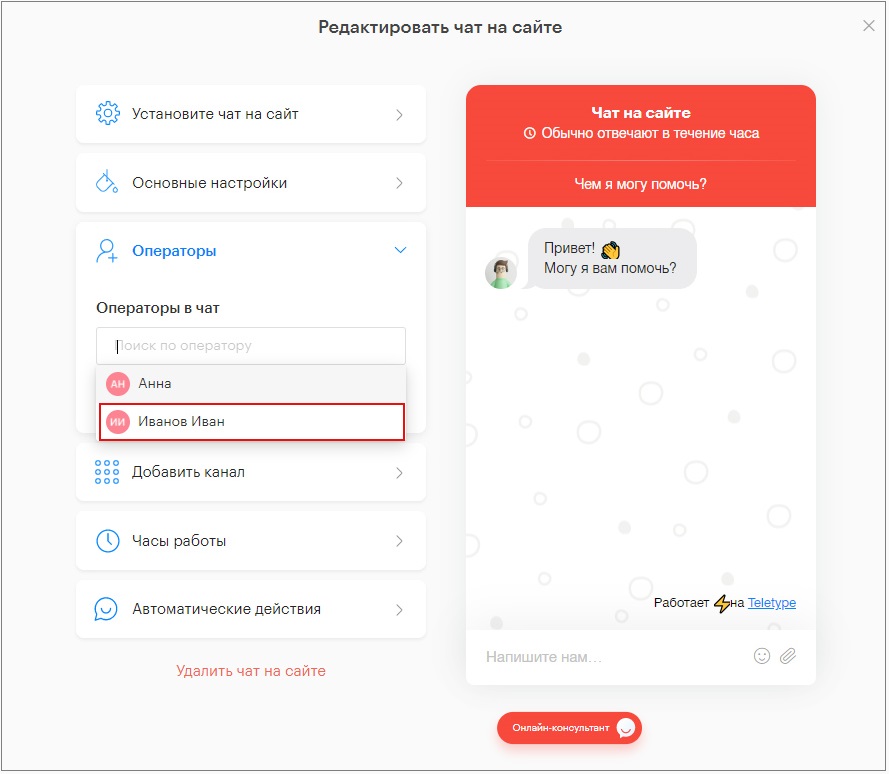
3. Click “Save”.
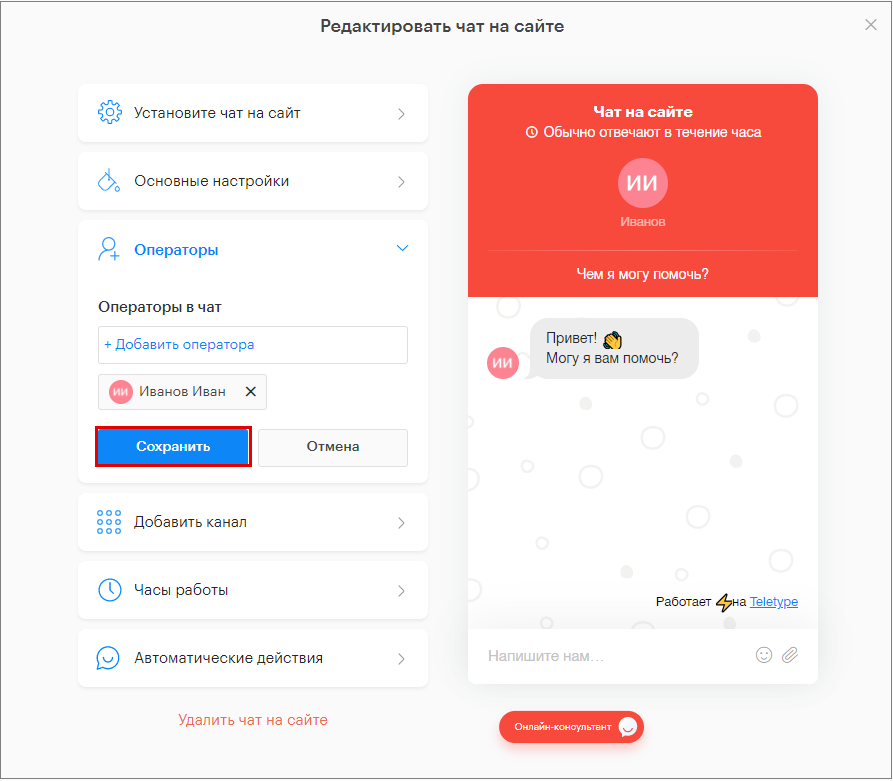
4. Click “Close”.

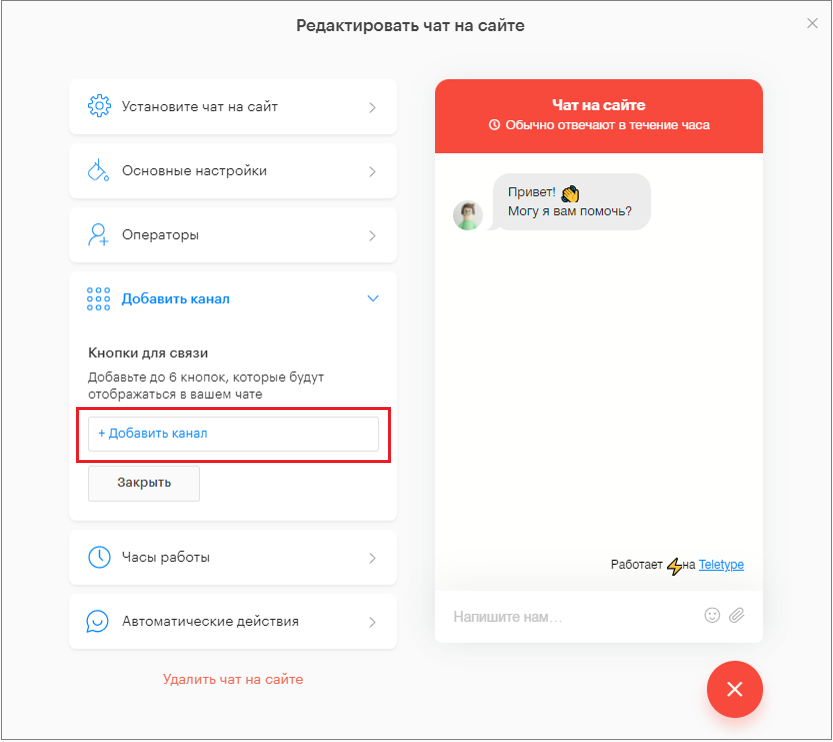
“Add Channel” Section
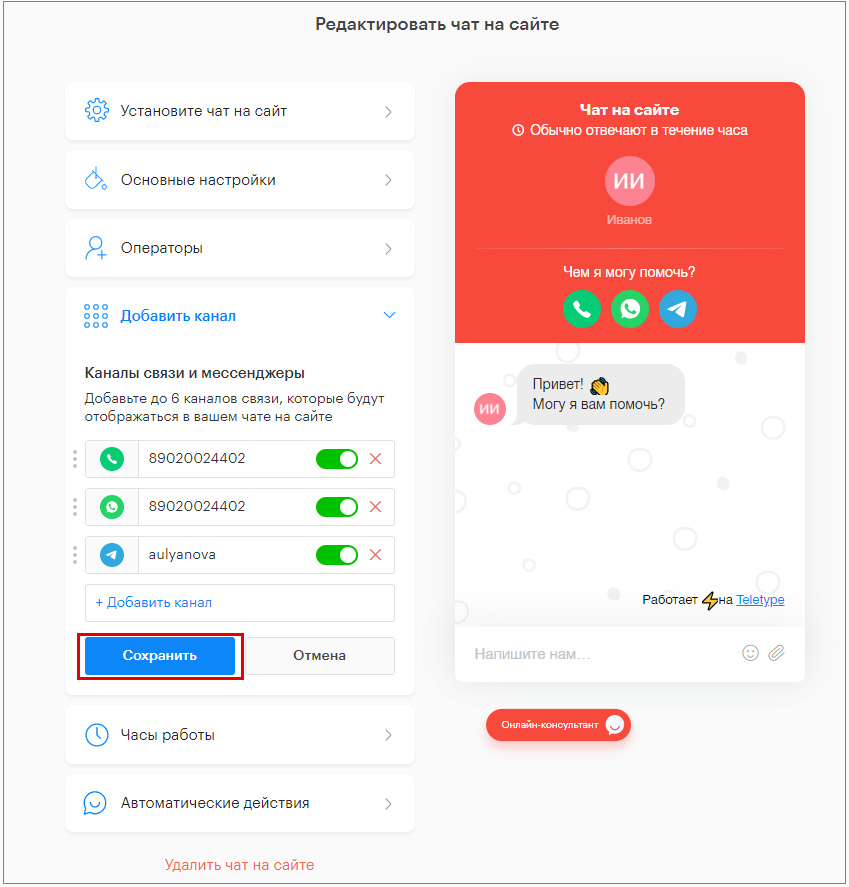
You can add up to 6 channels to the website chat in the “Add Channel” tab.
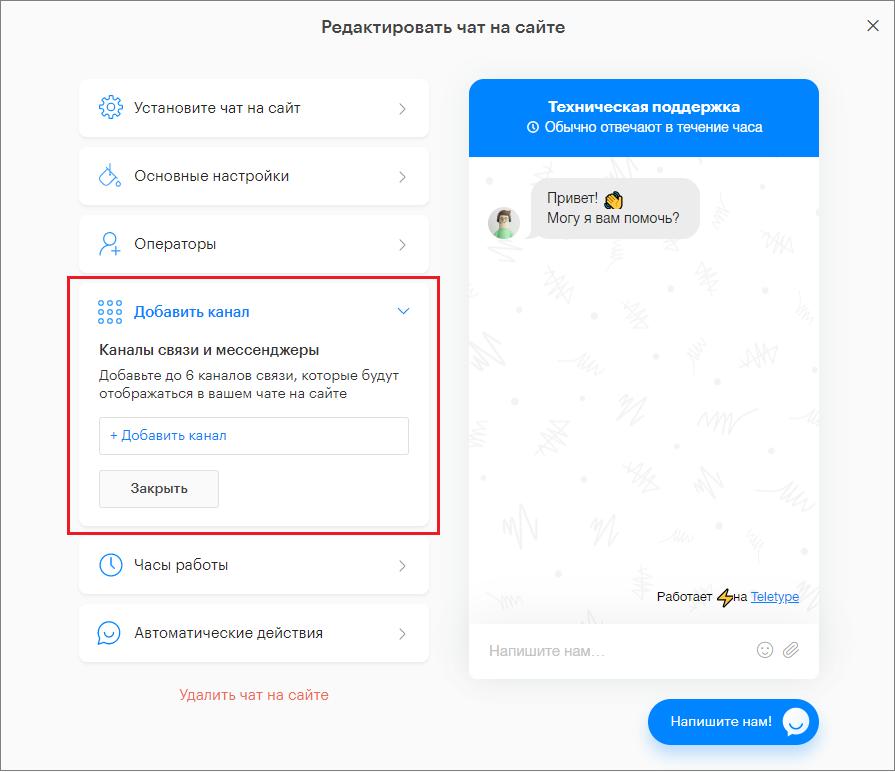
- Click “Add Channel”.
2. Select a channel from the dropdown list.
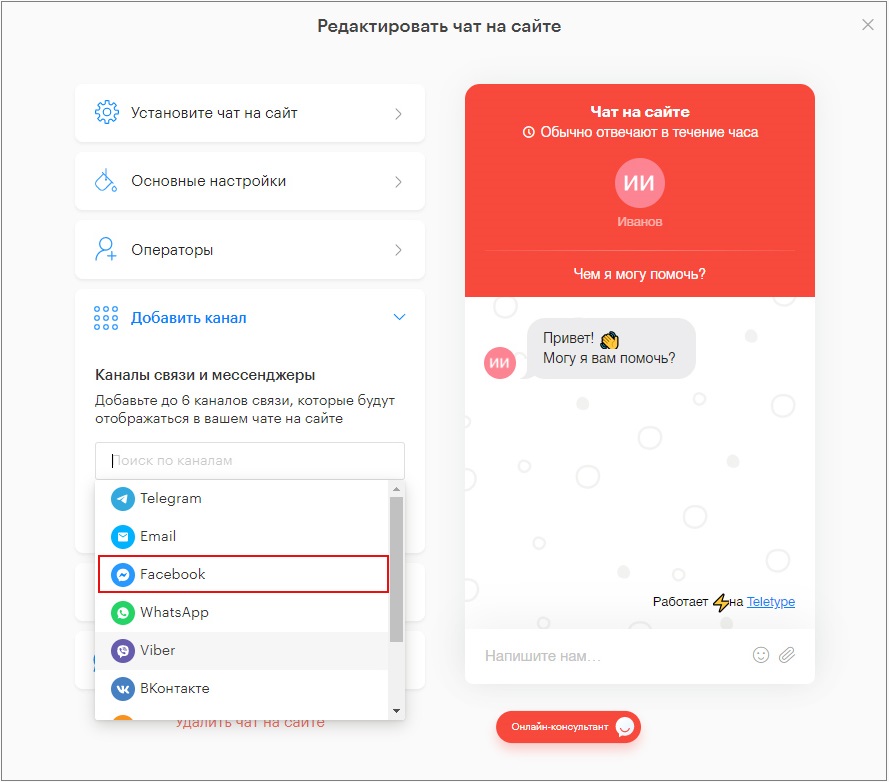
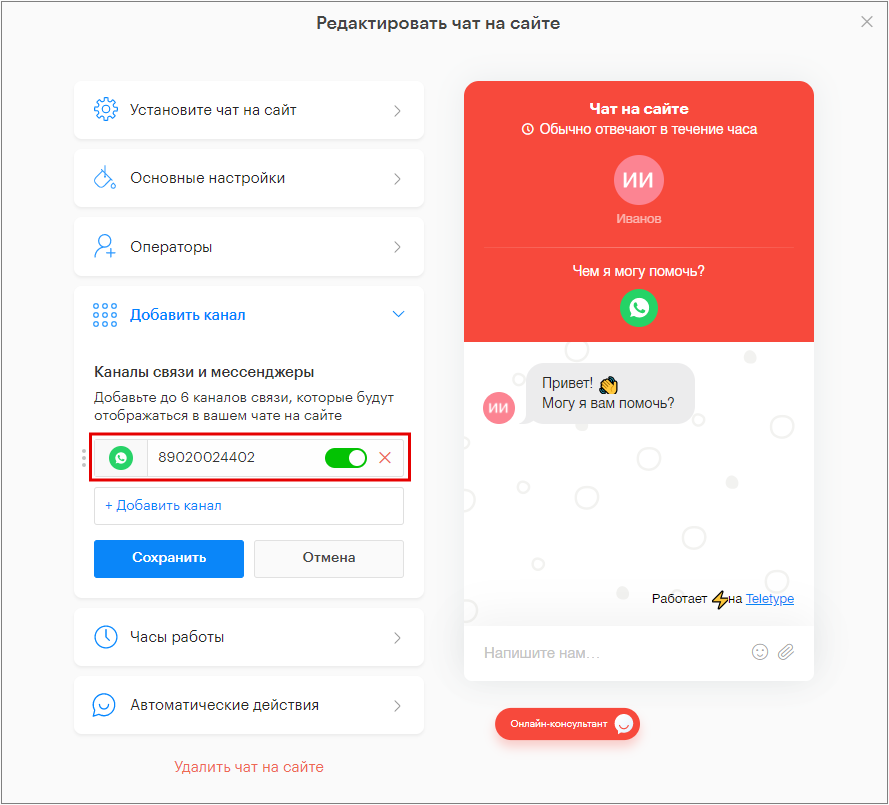
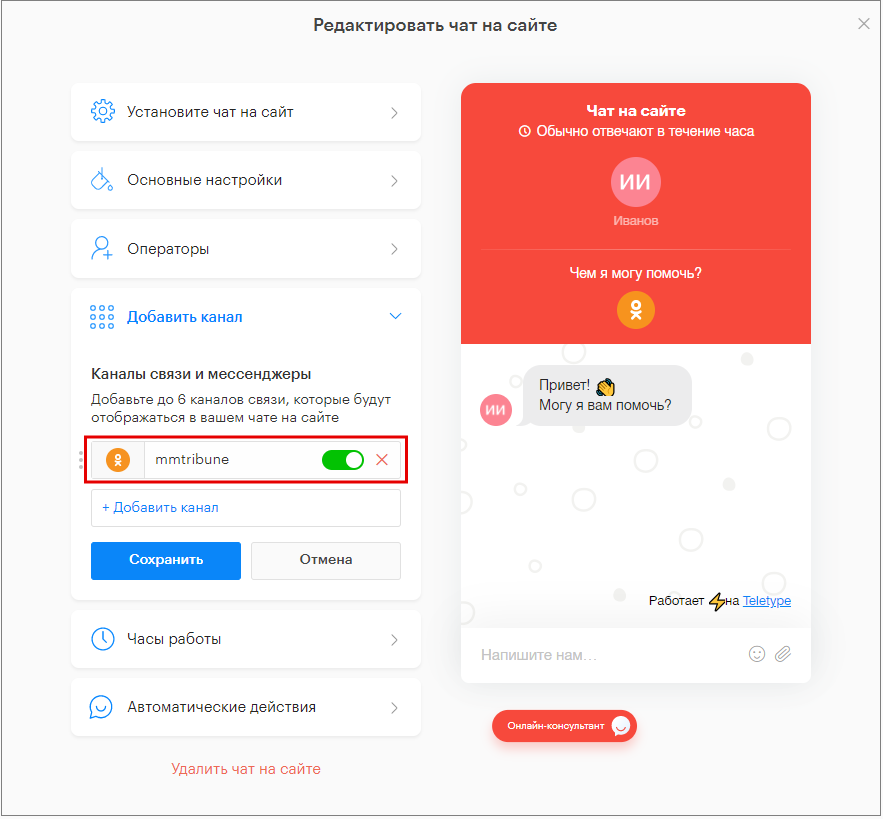
How to fill in the authorization details for each channel:
- For the “Telegram” channel, enter the Telegram account login.

2. For the “WhatsApp” channel, enter the phone number of the WhatsApp account.
3. For the “Viber” channel, enter the phone number of the Viber account.

4. For the “Facebook” channel, enter the account login (phone number or email used during registration).

5. For the “Vkontakte” channel, enter the address of the Vkontakte group or community.

6. For the “Odnoklassniki” channel, enter the address of the group or community.
7. For the “Instagram” channel, enter the Instagram profile URL.

8. For the “Email” channel, enter the email address where messages will be received.

9. For the “Phone” channel, enter the phone number where calls will be received.

10. Click “Save”.
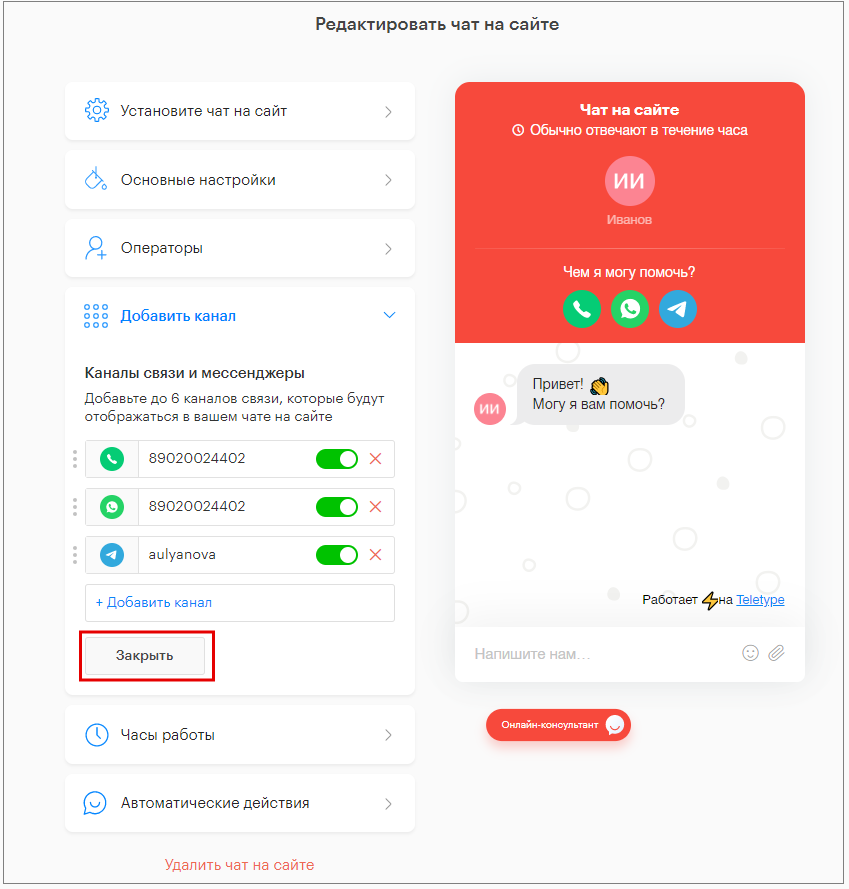
11. Click “Close”.
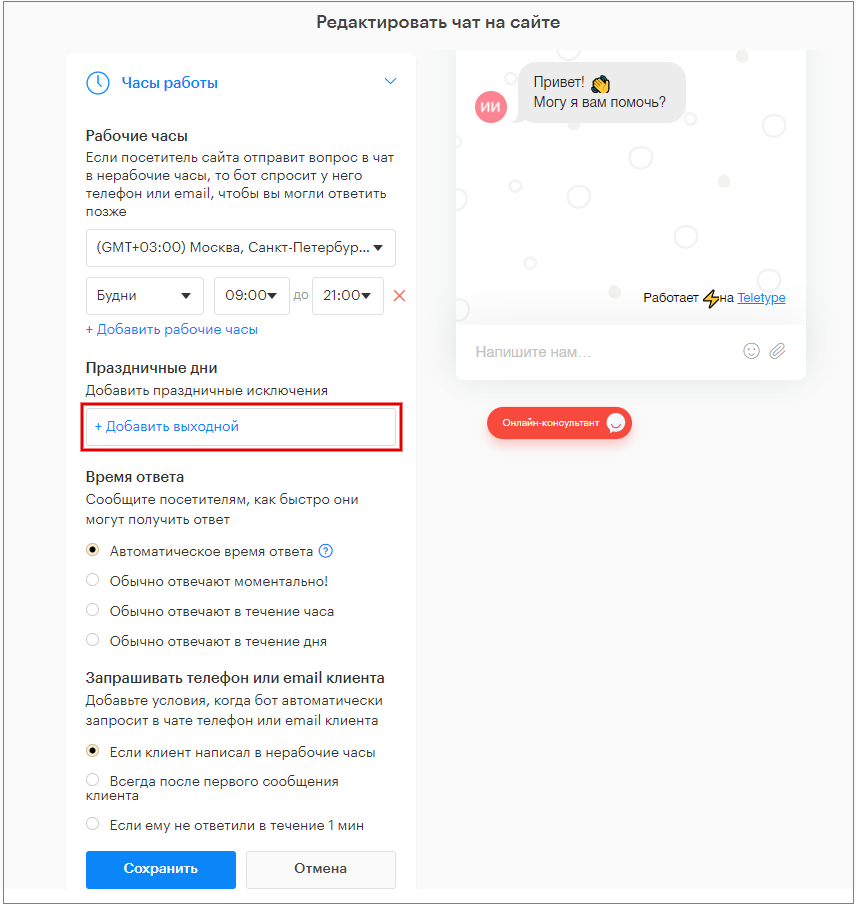
“Working Hours” Section
Add chat working hours: if a visitor sends a message outside of working hours, the bot will request contact details (phone or email) so that an operator can contact them during working hours. This option is only available if a feedback form is set up to send messages outside of working hours.
- Click the “Time Zone” field.
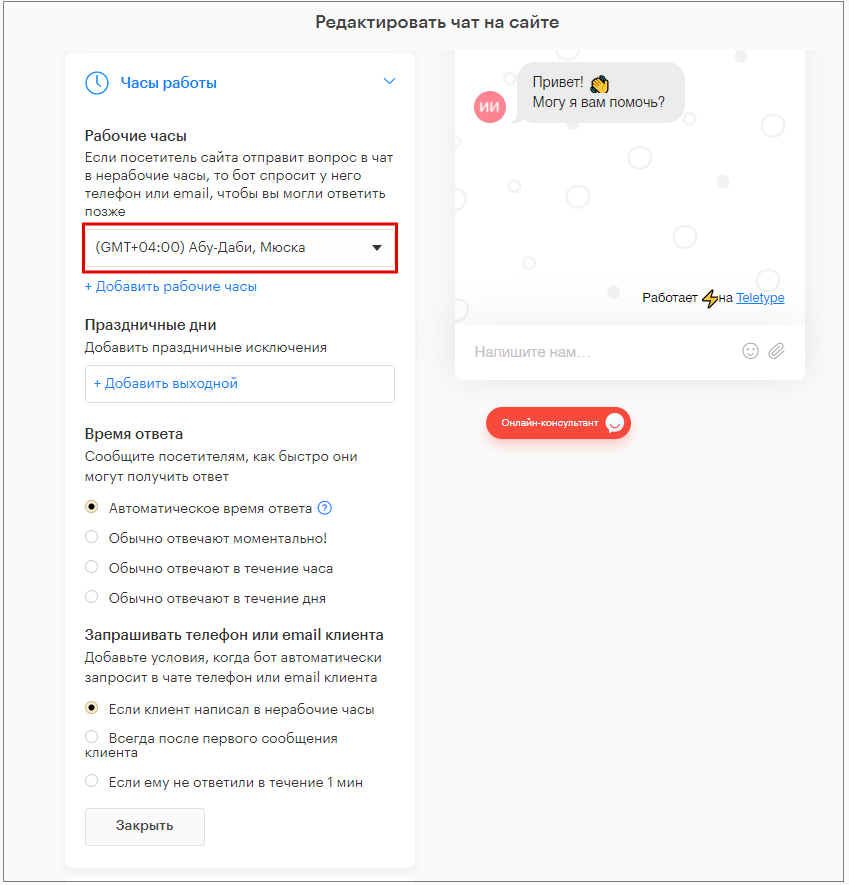
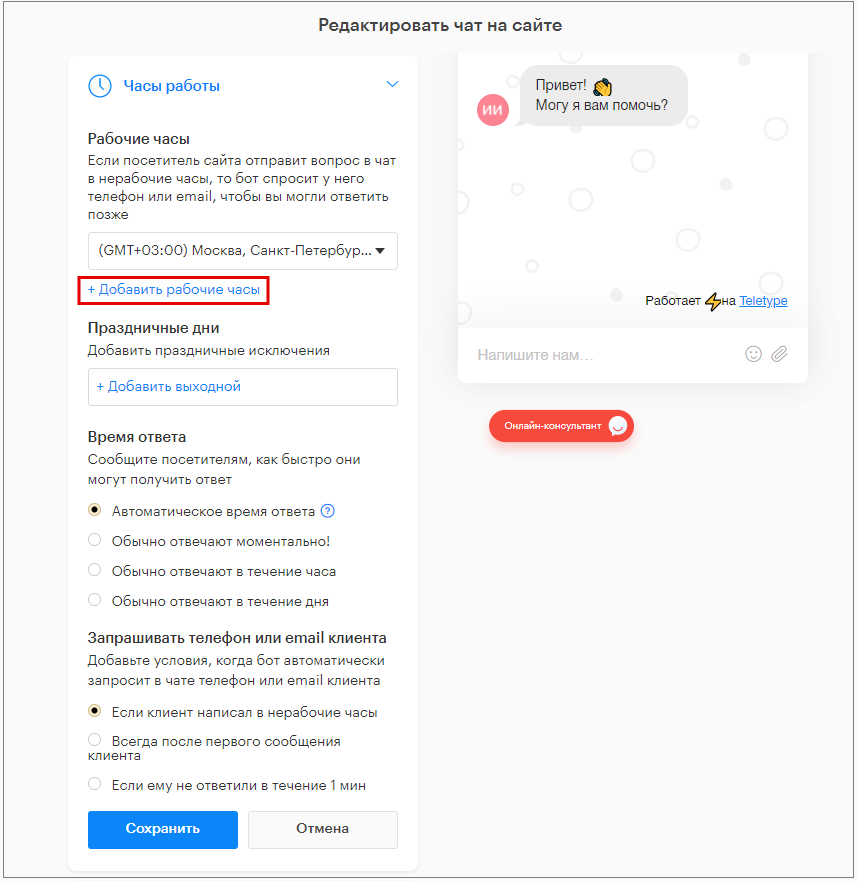
2. Select the chat time zone from the dropdown list.

3. Click “+ Add working hours”.
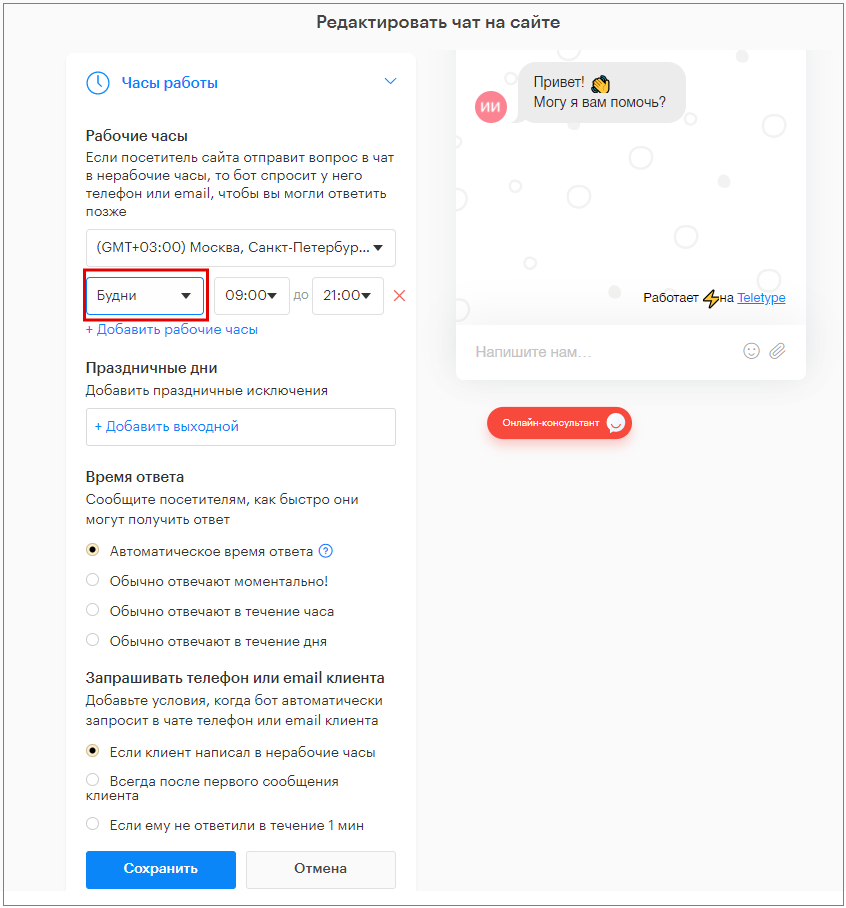
4. Set the chat working days: select specific weekdays, weekdays, or weekends from the dropdown list.
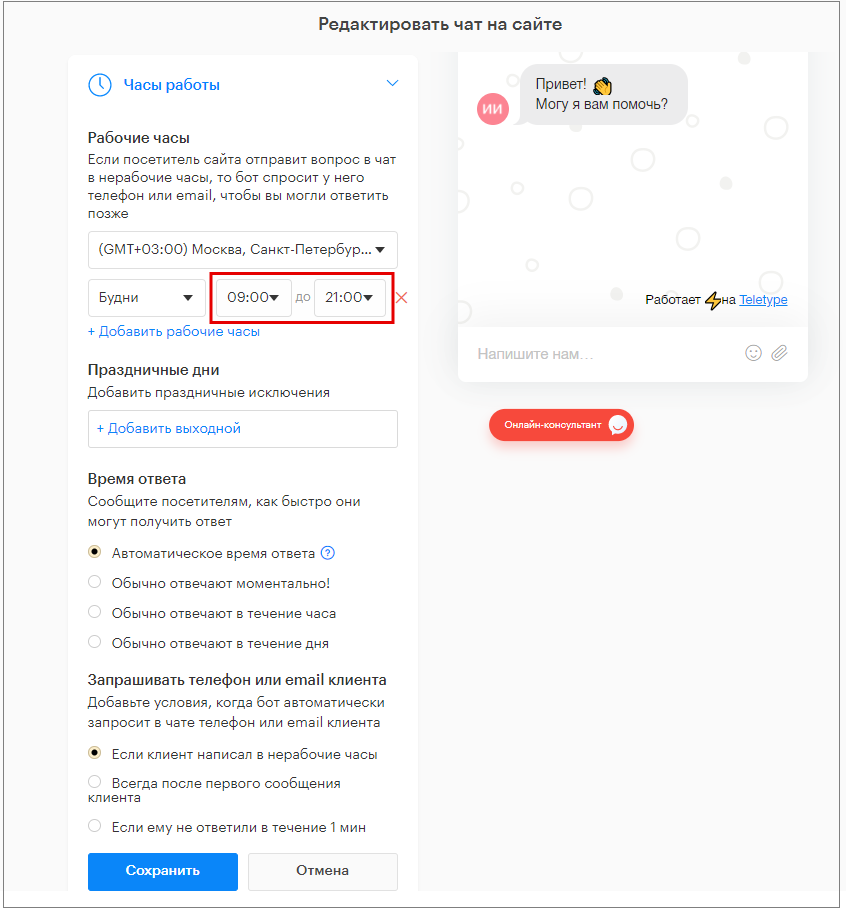
5. Set the chat working hours: select the start and end times from the dropdown lists.
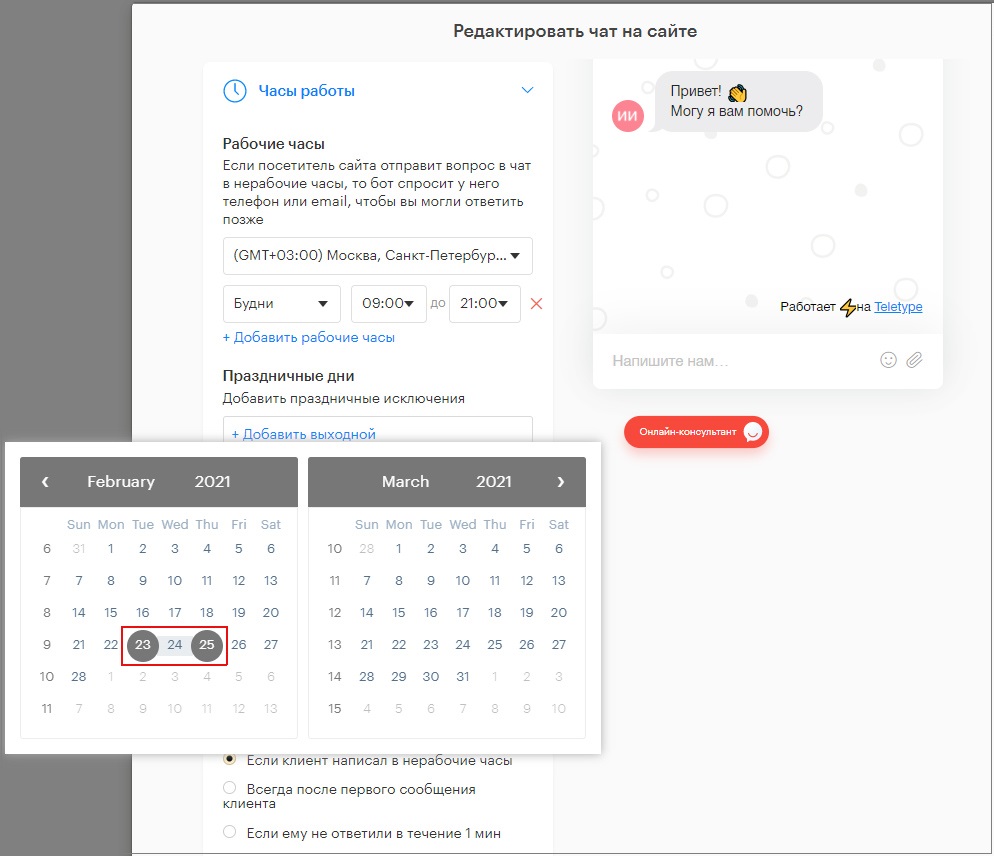
6. Add weekends and holidays: click “+ Add day off”.
7. Select days off in the calendar that appears.
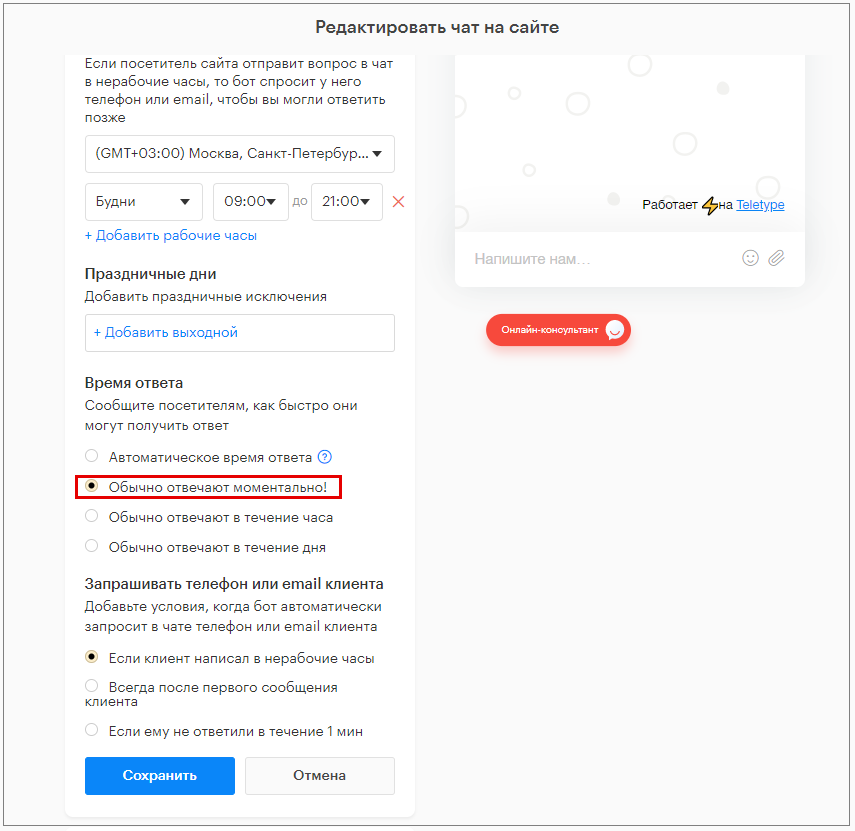
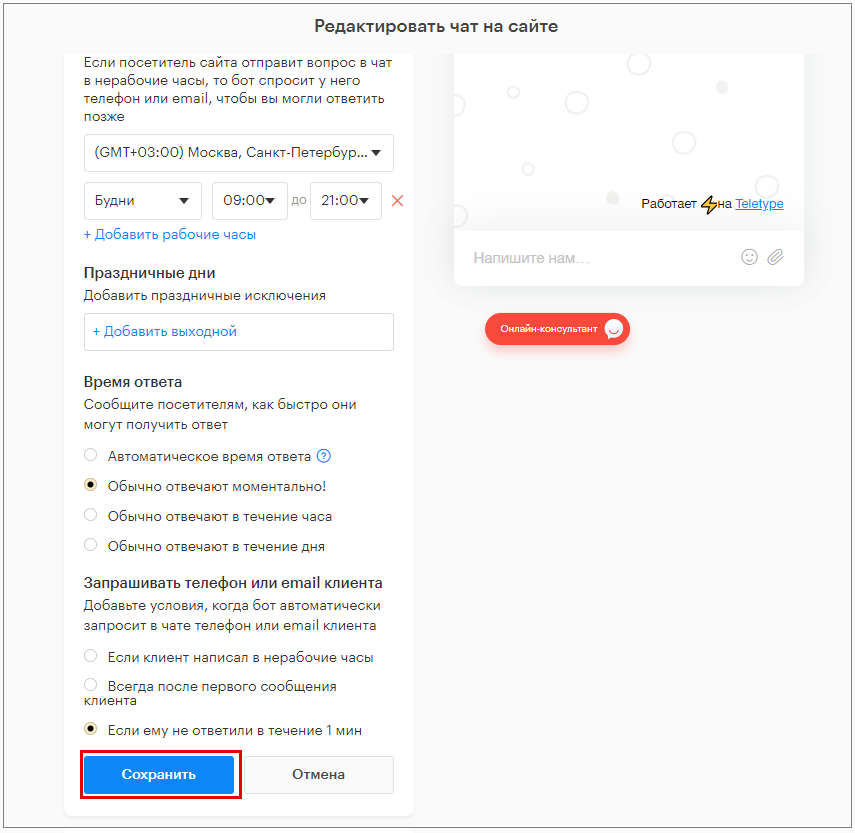
8. Specify the average operator response time by selecting one of the available options.
If you select “Automatic response time,” the chat will display the average response time over the last 7 days.
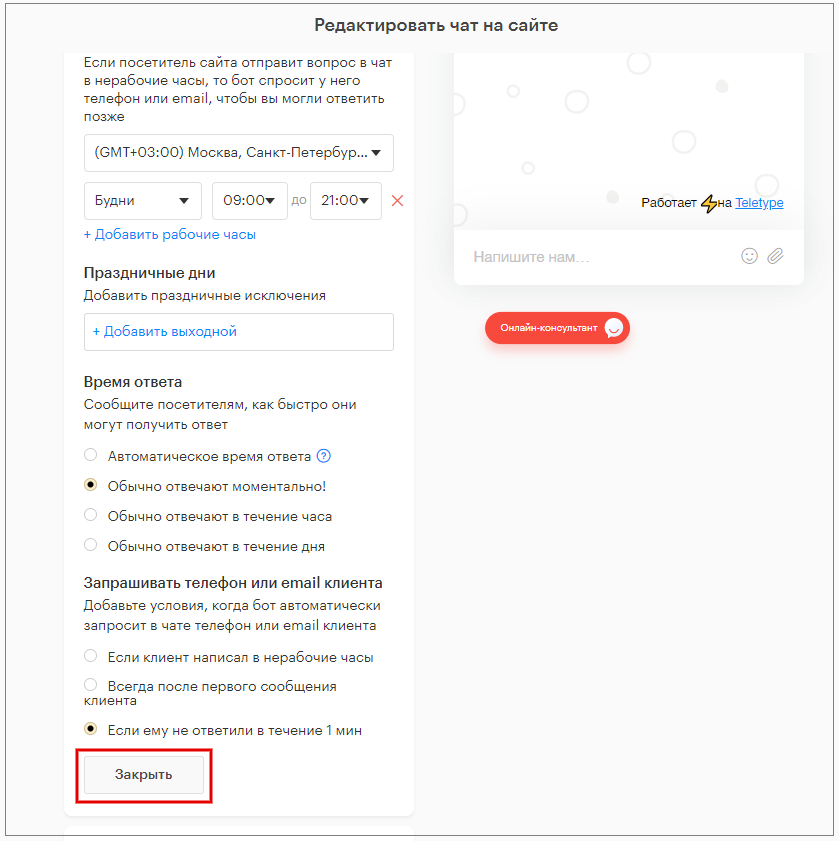
9. Set conditions for the bot to automatically request visitor contact details by selecting one of the available options.
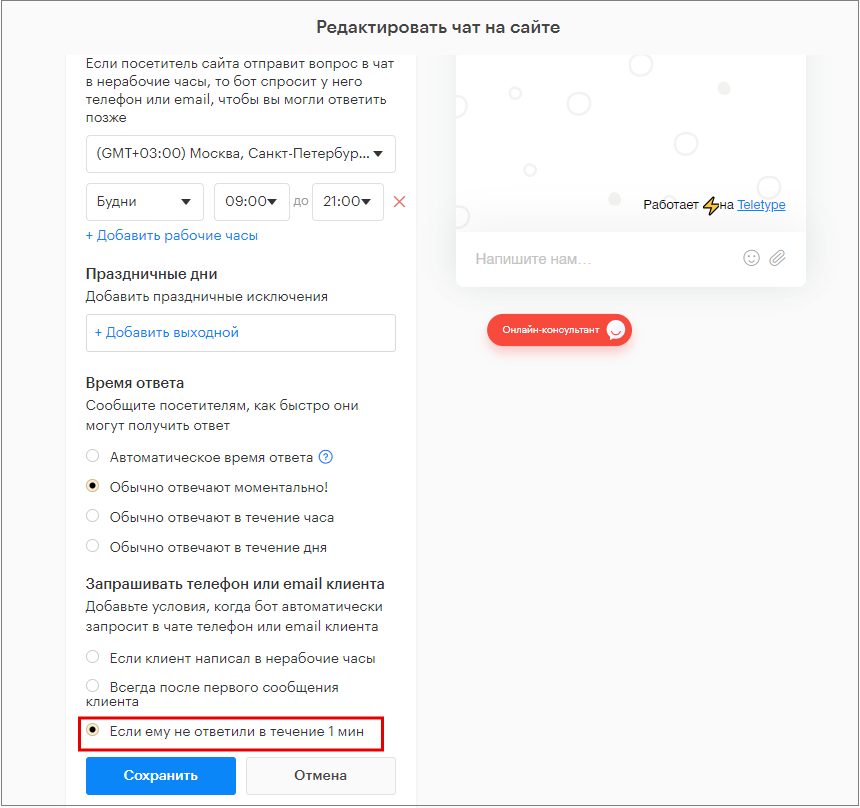
10. Click “Save”.
11. Click “Close”.
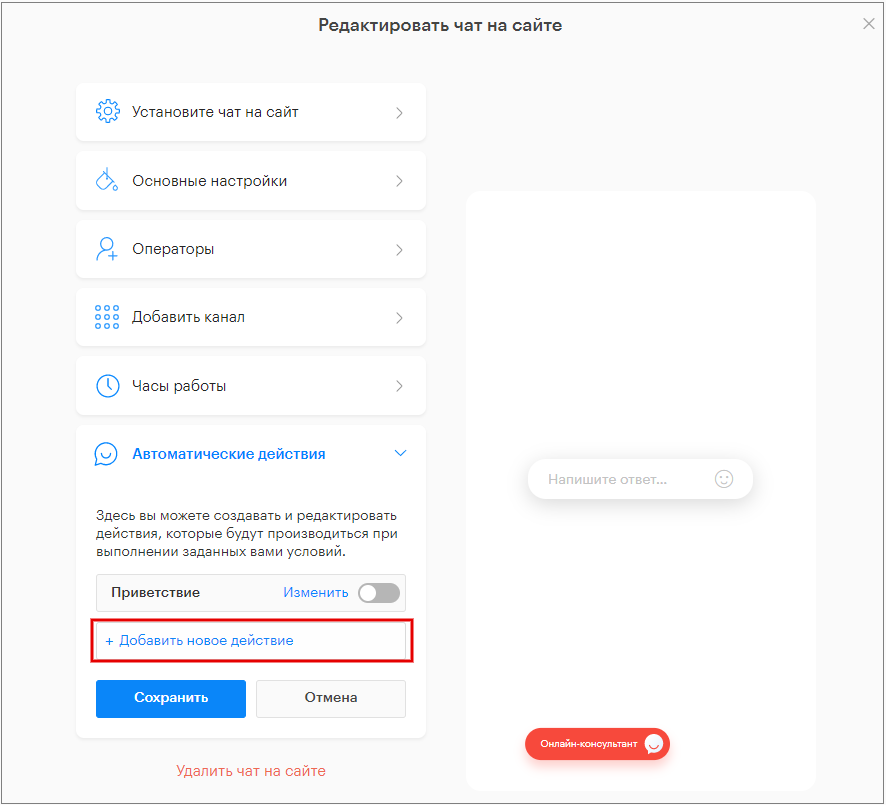
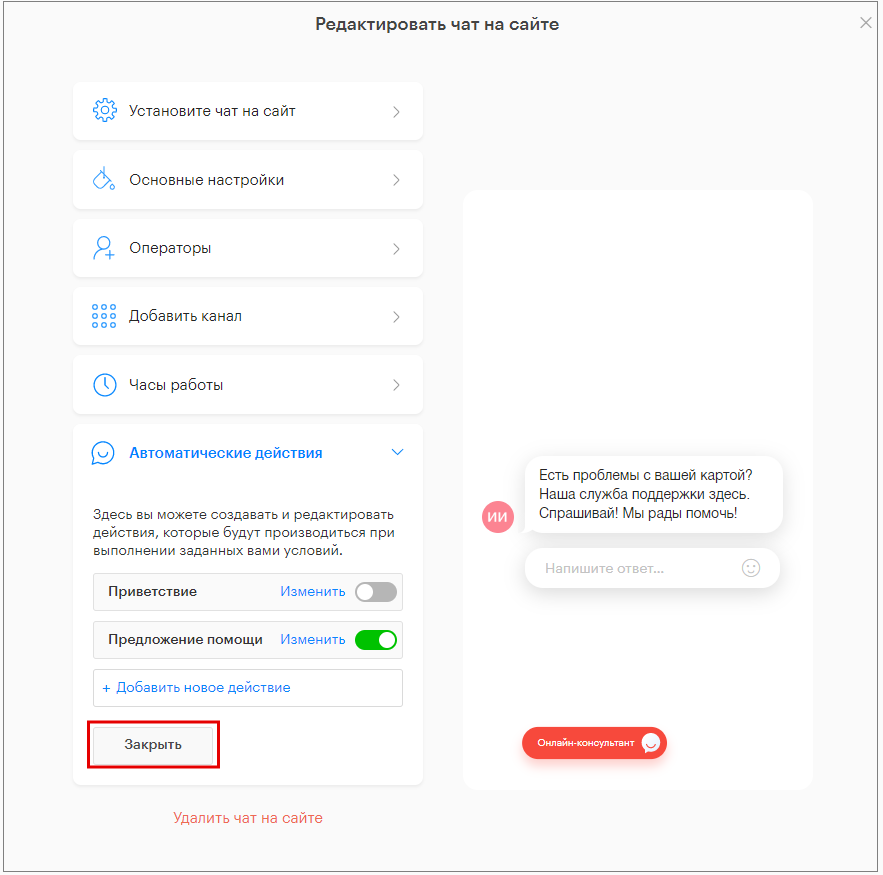
“Automatic Actions” Section
In this tab, you can set actions in the chat and conditions for them.
- Click “+ Add new action”.
2. Enter the action name.
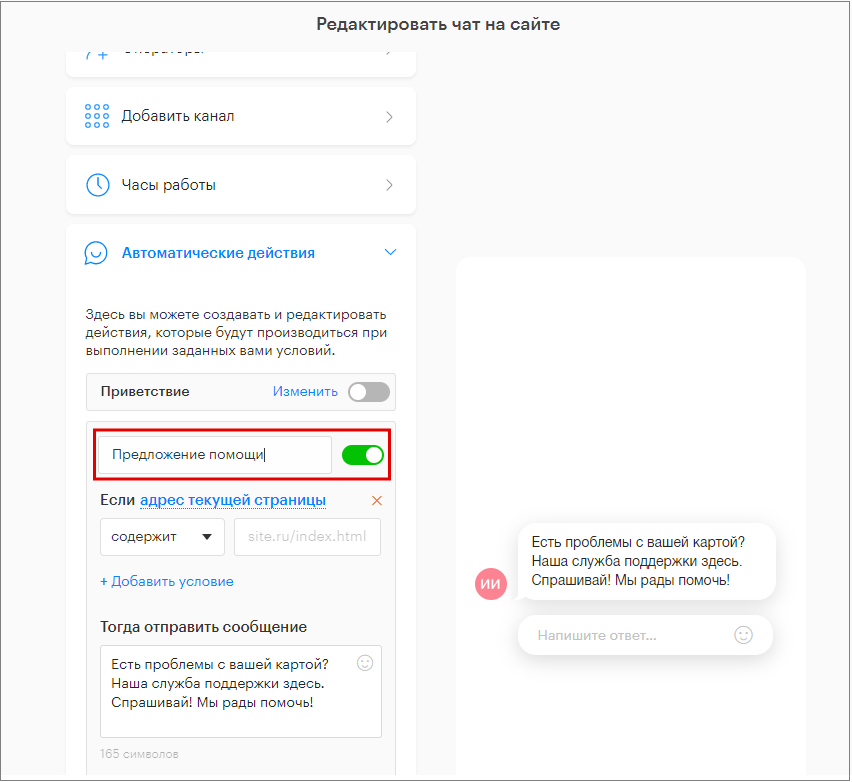
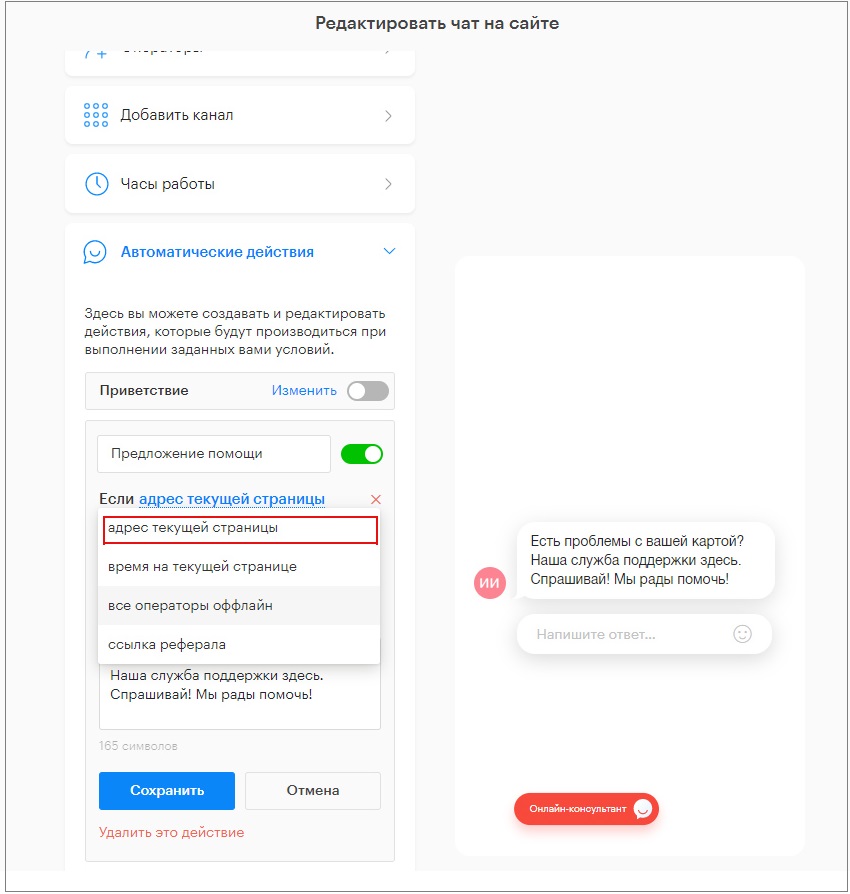
3. Click on the condition.
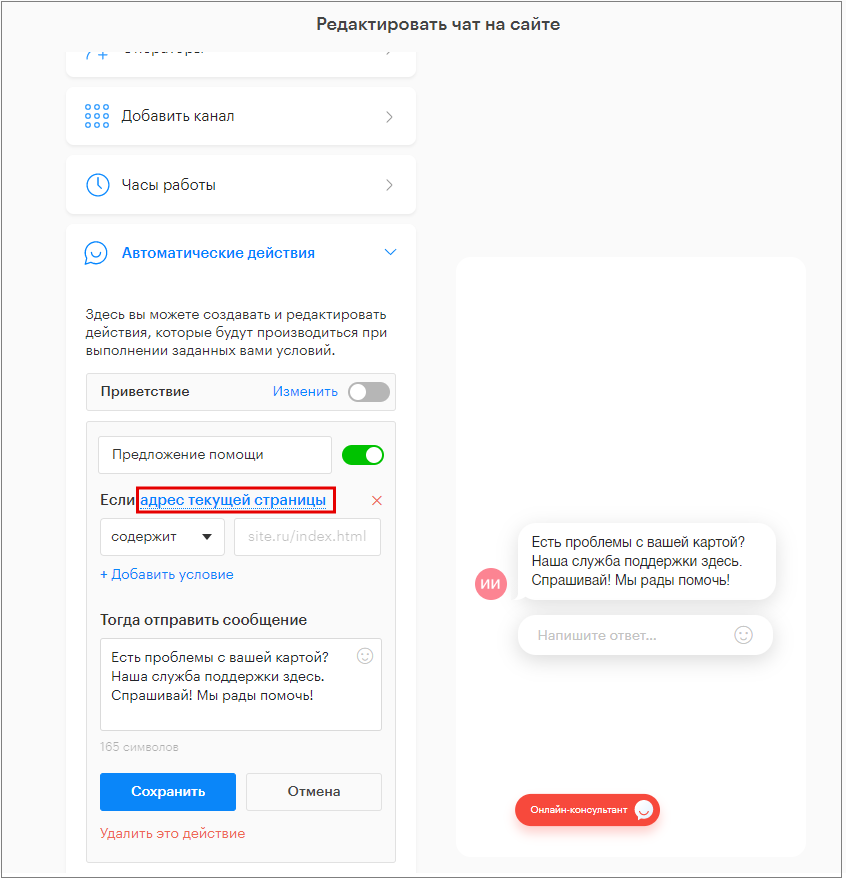
4. Select a condition from the dropdown list.
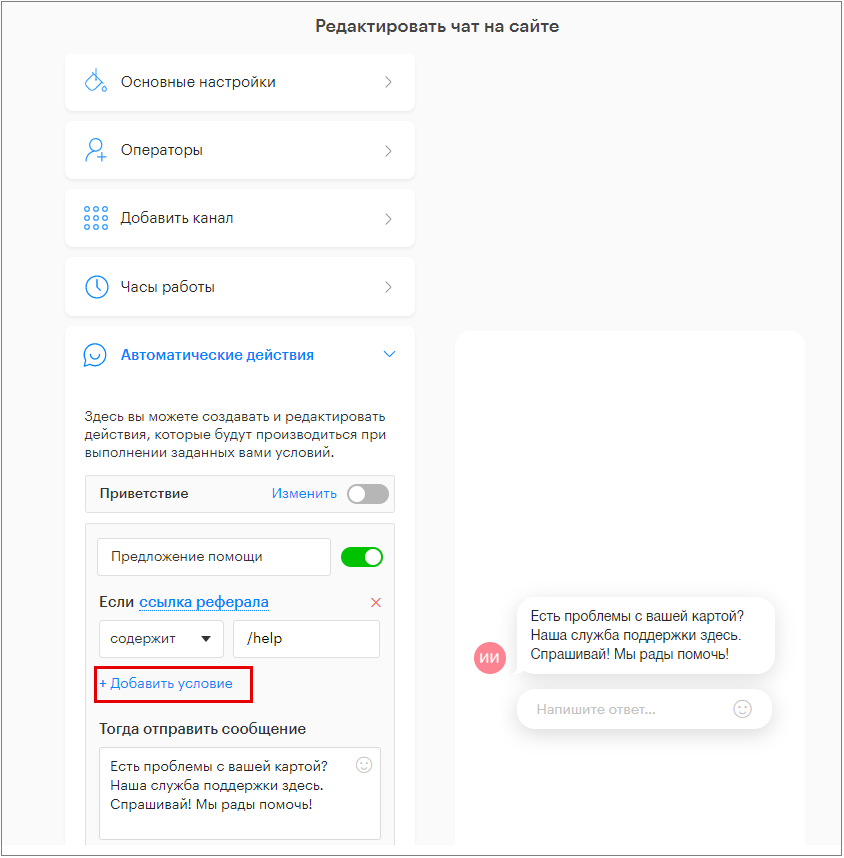
5. You can use any number of conditions simultaneously for one action. To do this, click “+ Add condition”.
How to correctly fill in the condition “If current page URL” contains/does not/does not contain/any:
- Select the condition type from the dropdown list (contains/does not/does not contain/any).
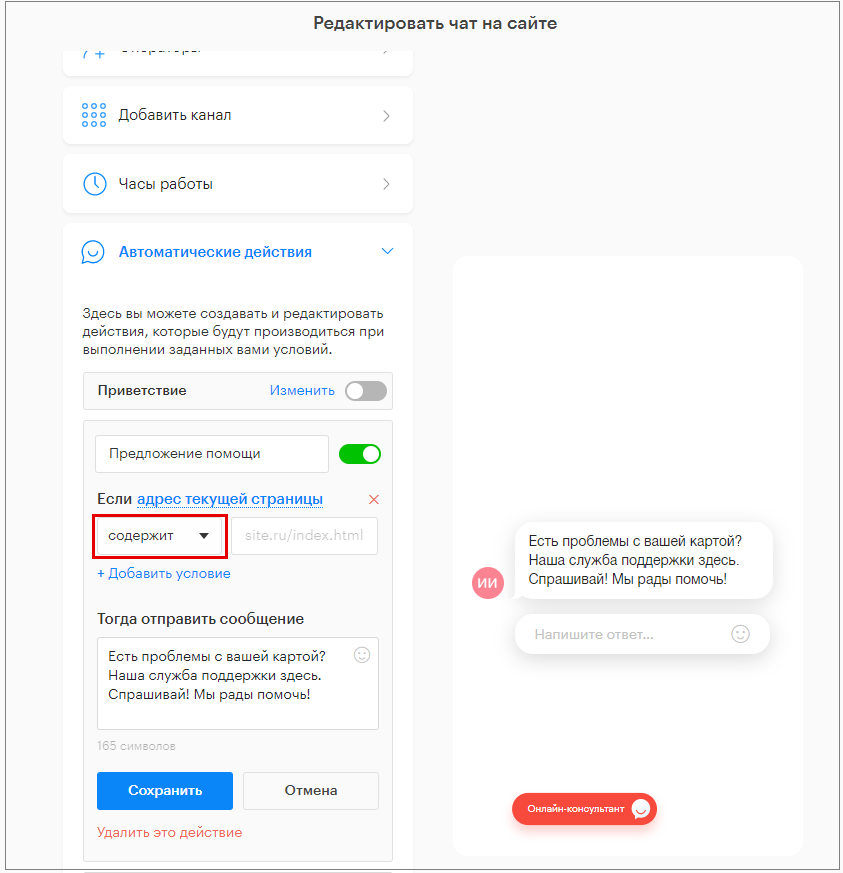
2. Enter the full or partial URL of the website page.
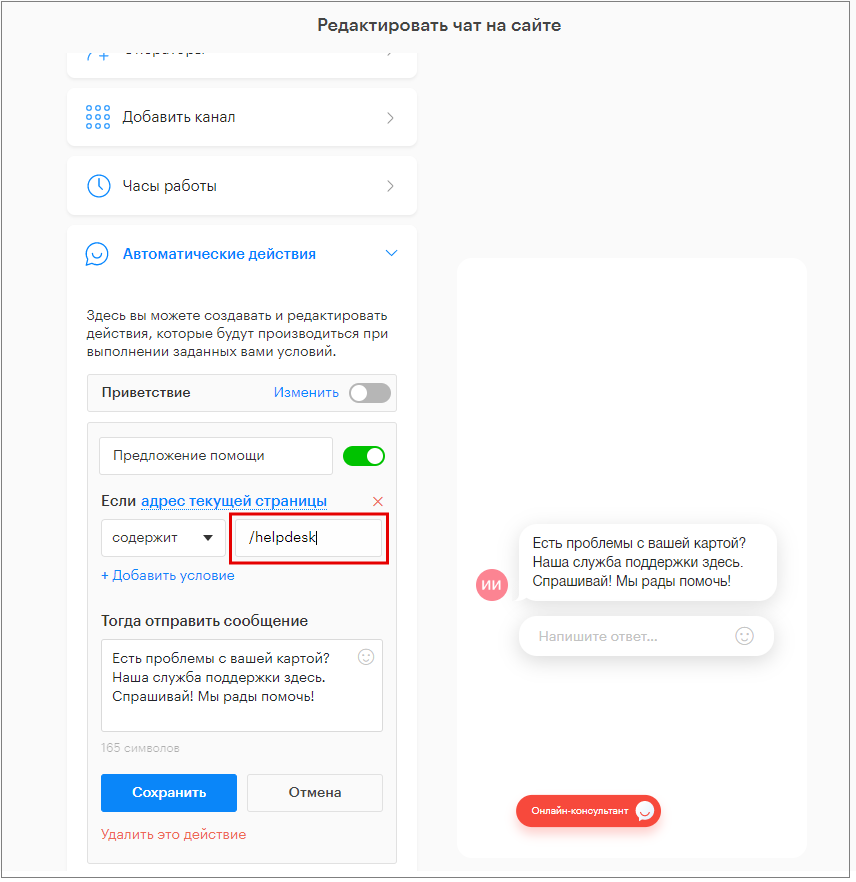
Condition description:
- “If current page URL contains,” the message will be sent automatically when the user visits a page whose URL contains the part specified in the field on the right.
- “If current page URL does not,” the message will be sent automatically on all pages except the specified one.
- “If current page URL does not contain,” the message will be sent automatically on all pages except those whose URL does not contain the part specified in the field on the right.
- “If current page URL is any,” the message will be sent automatically on all pages of the site. When selecting this condition, the field on the right does not need to be filled out.
How to correctly fill in the condition “If time on current page” is greater than/less than:
- Select the condition type from the dropdown list (greater than/less than).
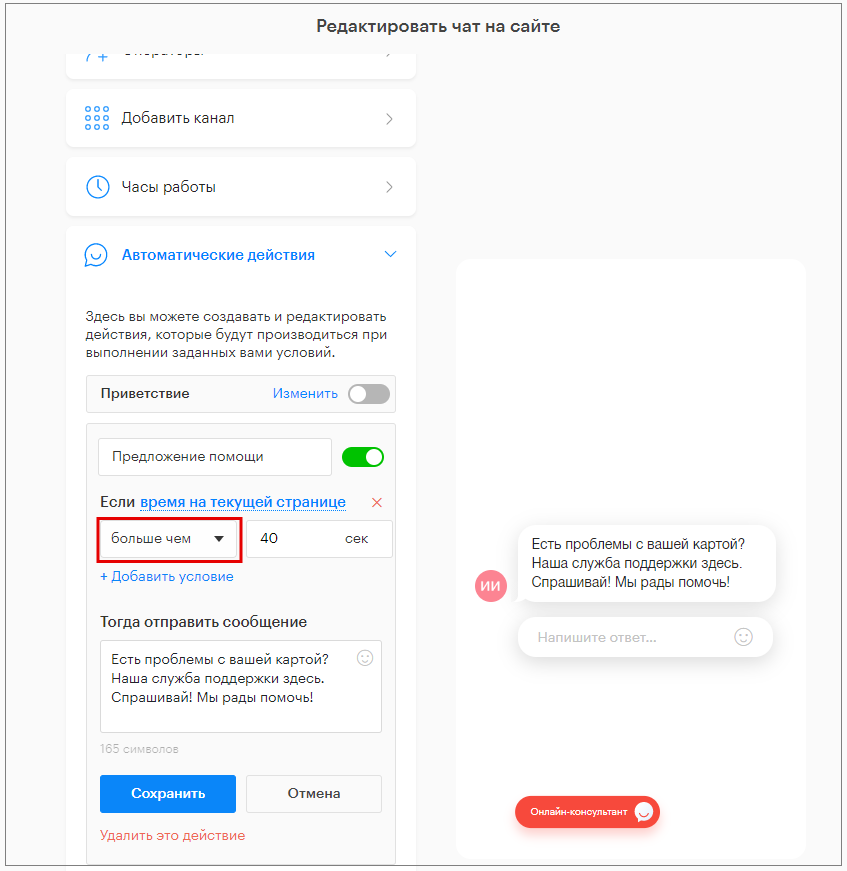
2. Enter the value (time on site) in the field on the right.
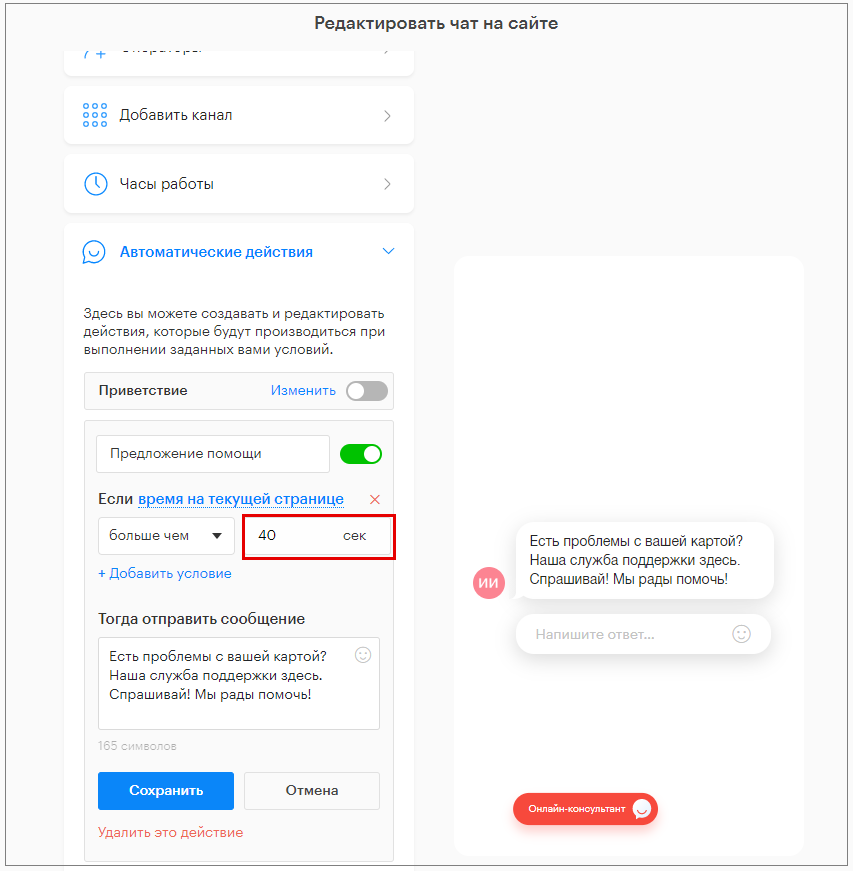
Condition description:
- “If time on current page is more than,” the message will be sent automatically if the user stays on the page longer than the specified time.
- “If time on current page is less than,” the message will be sent automatically if the user has been on the page for less than the specified time.
How to correctly fill in the condition “If all operators are offline” is greater than/less than:
- Select the condition type from the dropdown list (greater than/less than).
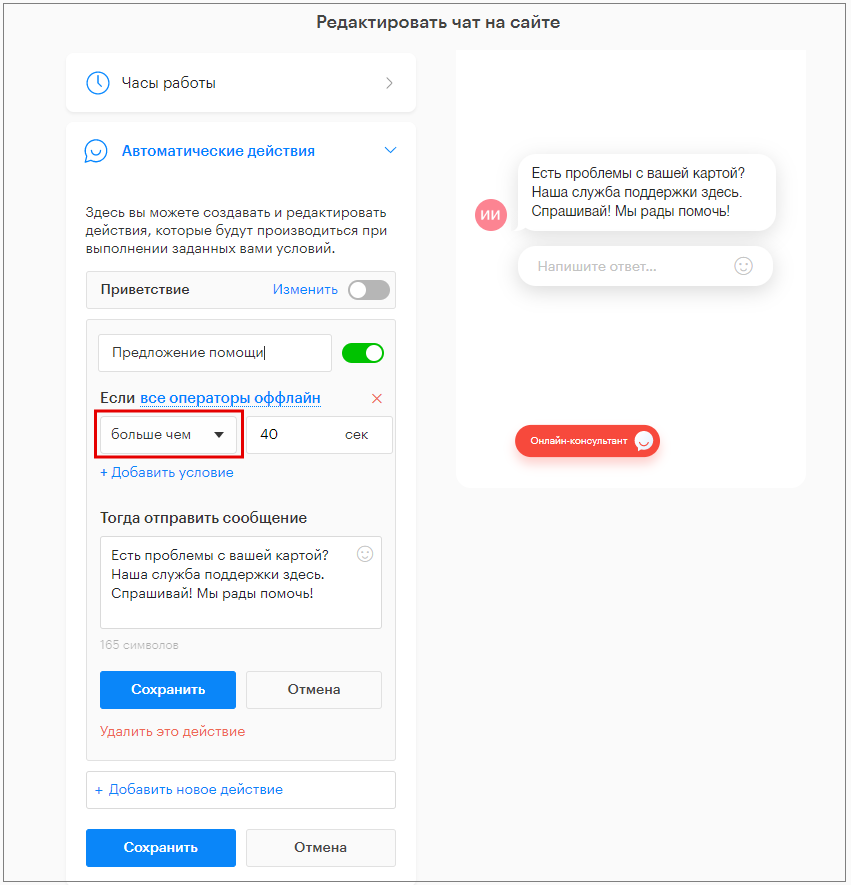
2. Enter the value (time on site) in the field on the right.
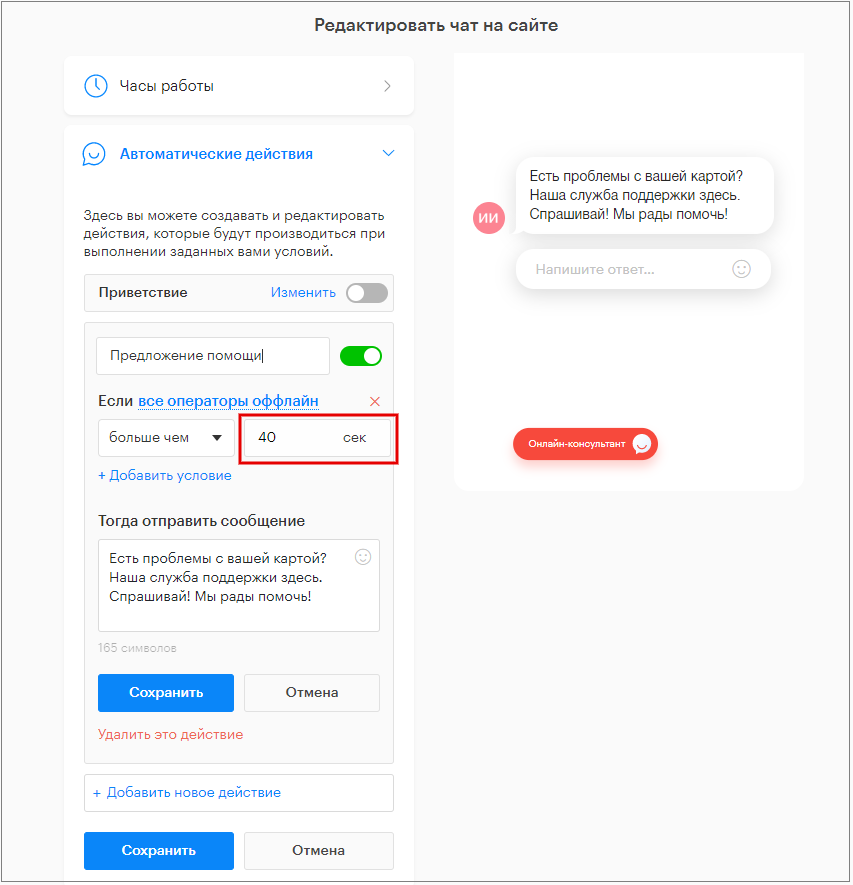
Condition description:
- “If all operators are offline for more than,” the message will be sent automatically if all operators are offline and the user has been on the page longer than the specified time.
- “If all operators are offline for less than,” the message will be sent automatically if all operators are offline and the user has been on the page for less than the specified time.
How to correctly fill in the condition “If referral link” contains/does not/does not contain/any:
- Select the condition type from the dropdown list (contains/does not/does not contain/any).
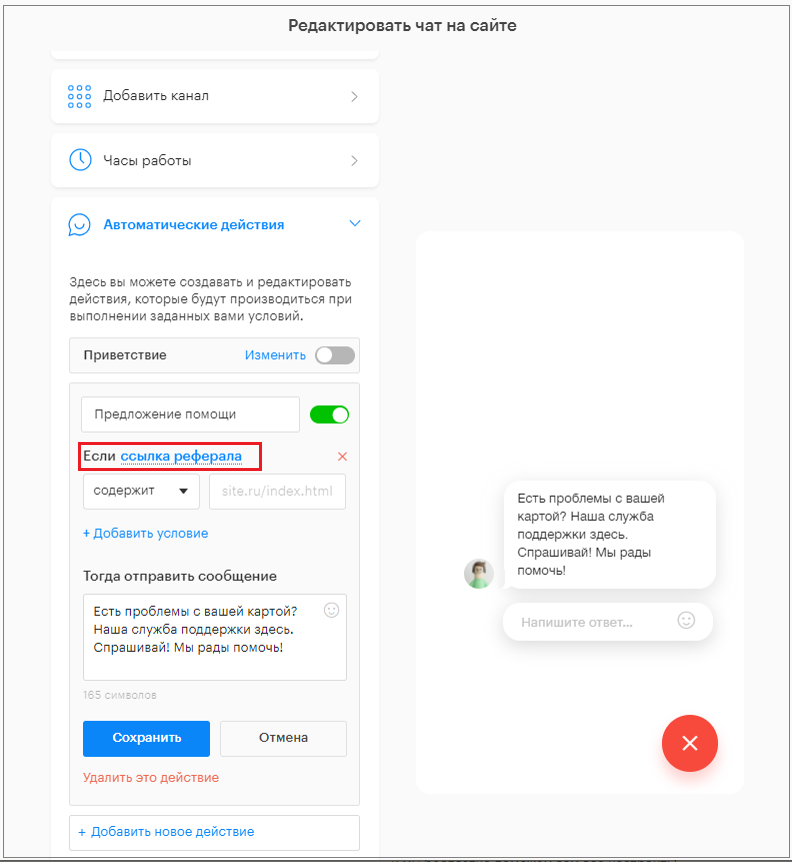
2. Enter the full or partial URL of the site.

Condition description:
- “If referral link contains,” the message will be sent automatically when the user visits a page from a site whose URL contains the part specified in the field on the right.
- “If referral link does not,” the message will be sent automatically on all pages when coming from any site except the one specified in the field on the right.
- “If referral link does not contain,” the message will be sent automatically on all pages when coming from a site whose URL does not contain the part specified in the field on the right.
- “If referral link is any,” the message will be sent automatically on all pages of the site. When selecting this condition, the field on the right does not need to be filled out.
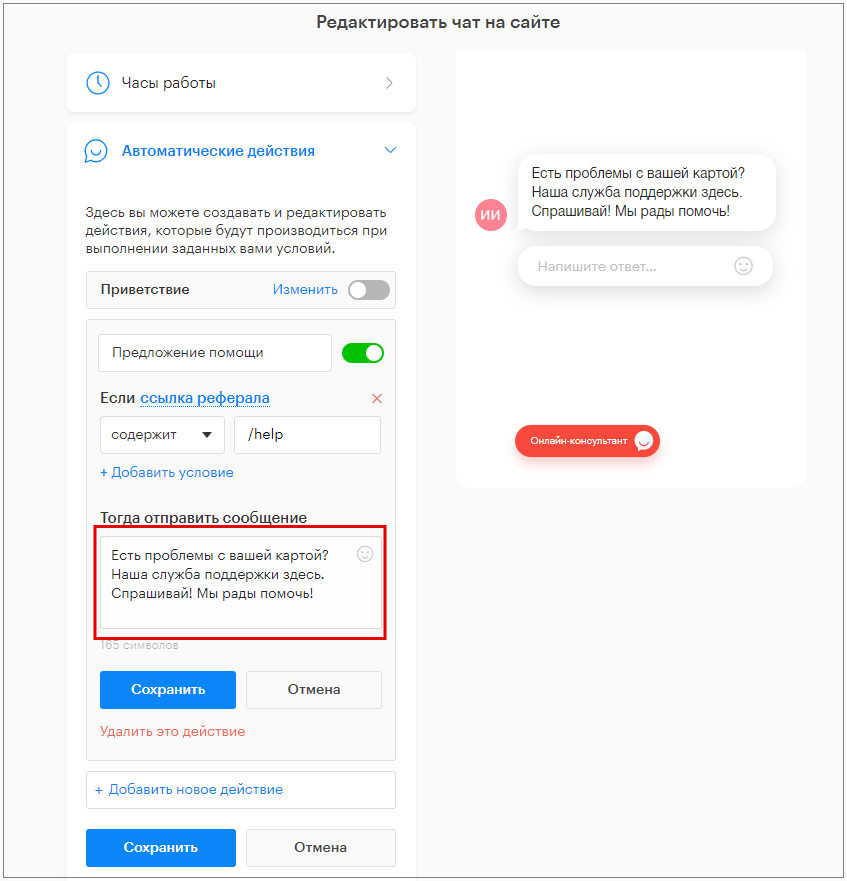
3. Write the message text that will be sent to the visitor if the specified conditions are met.
4. Click “Save”.
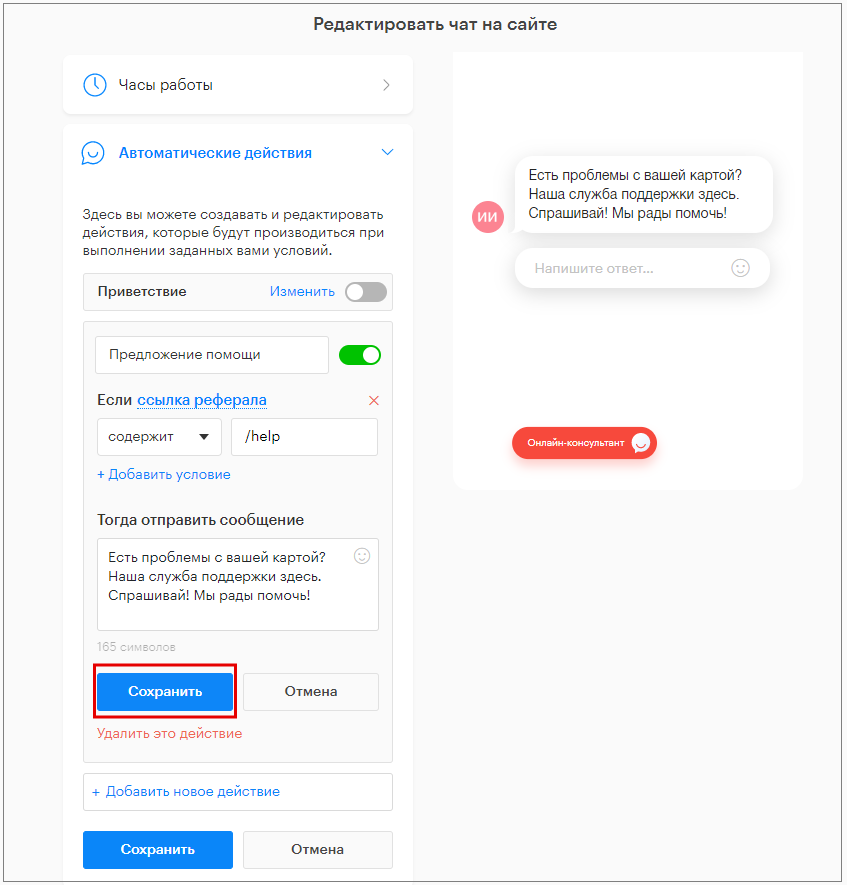
5. Click “Close”.
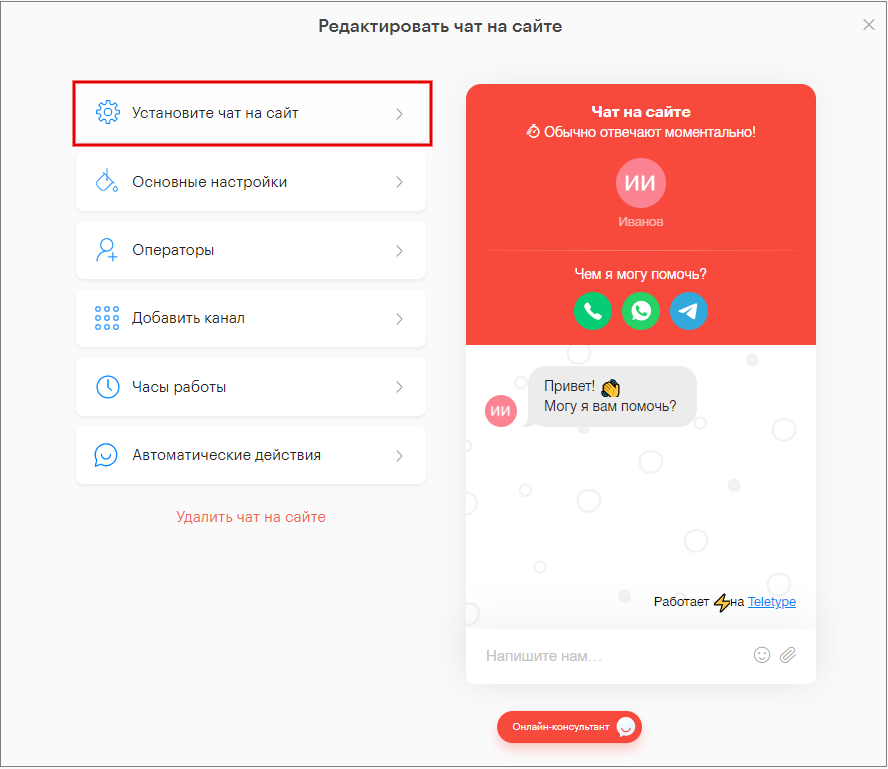
Installing the Chat on the Website
- Open the “Install chat on the website” tab.
2. Click “Copy code to clipboard”.
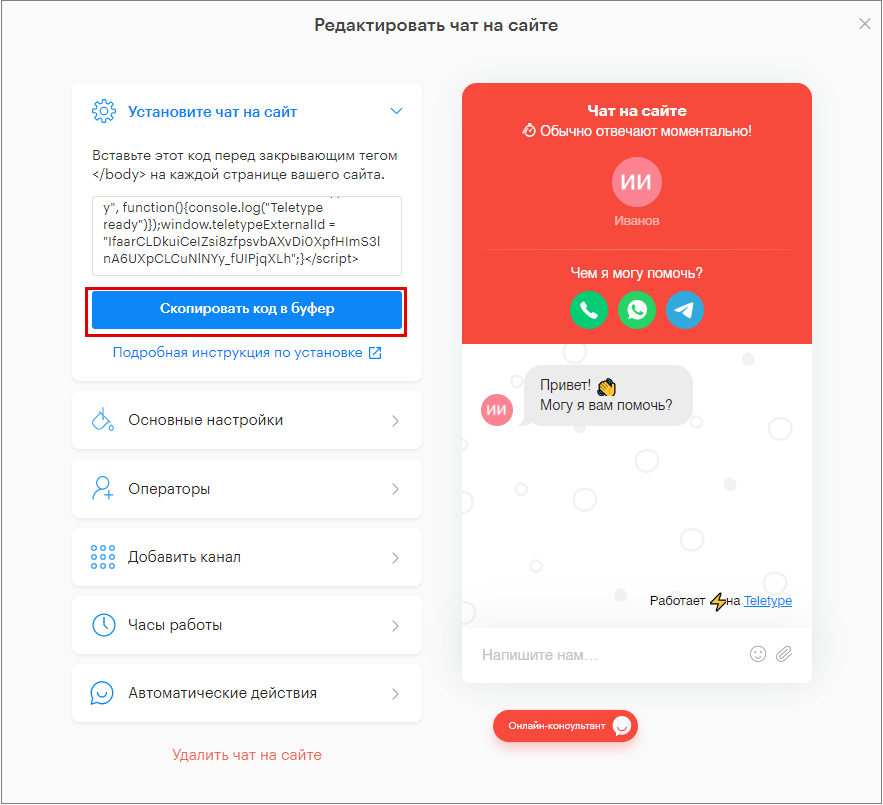
3. Paste the copied code before the closing </body> tag on every page of your website.
4. Close the chat editor.

https://vimeo.com/486751932 Creating and configuring the online chat
Important Information
You can place either the button with messengers or the online chat on the website; these widgets cannot be installed simultaneously.